New Garage has morphed into New House :)
|
This post was updated on .
This topic could get big. :)
|
|
Administrator
|
When there is no topic the scope is infinity.

Gary, AKA "Gary fellow": Profile
Dad's: '81 F150 Ranger XLT 4x4: Down for restomod: Full-roller "stroked 351M" w/Trick Flow heads & intake, EEC-V SEFI/E4OD/3.50 gears w/Kevlar clutches
|
|
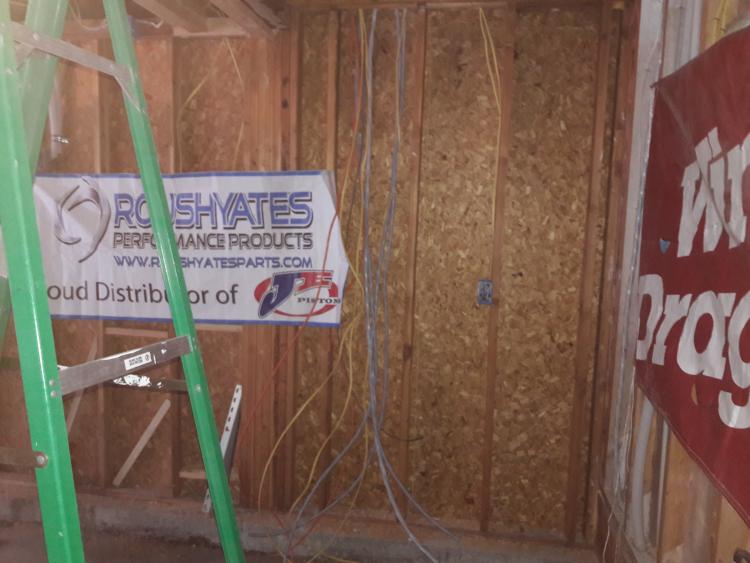
After Church this morning followed by my first-ever Yoga class (for my back, it was marvelous) the afternoon project was to pull all the 220 cables for the sub-panel, which really didn't take long at all. :)
|
|
Administrator
|
So, there is progress. And, as Jim says, progress is good!
 More importantly, I'm glad you went to church. 
Gary, AKA "Gary fellow": Profile
Dad's: '81 F150 Ranger XLT 4x4: Down for restomod: Full-roller "stroked 351M" w/Trick Flow heads & intake, EEC-V SEFI/E4OD/3.50 gears w/Kevlar clutches
|
|
In reply to this post by ctubutis
I'm still here, Gary! Been busy finding/getting a new job; I'll be a contractor for the federal government, doing computer security stuff for the Bureau of Reclamation up at the Denver Federal Center. I was fingerprinted & photographed just today, but they tell me 1-3 weeks for THAT to be completed.
I need to get a Public Trust security clearance, turned in the paperwork for that just last night but this is something else that can take a long time. ~~ Anyhow, I try to stop by here at least once a day but I haven't seen much that I'd be able to help people with; all of my factory documentation is packed into plastic tubs + my primary computer died over the summer (I'm using my mom's Win10 laptop now) and I haven't done anything to replace it or try to pull the data from it. And most of the pictures I had posted online over the years are now gone for one reason or another (e.g. PhotoBucket). So, I've been pretty quiet on all the forums I'm a member of. And I've been keeping myself busy with the garage-rebuilding project, I just recently (over the past few weeks) finished the painting, then installed all the electrical devices in the boxes (which took ~3 days by itself, over 50 boxes to deal with). Still need to get the gas lines I ran for the new heater inspected, then get a separate permit to install the actual garage heater. I purchased a bunch of Craftsman tool storage stuff last June, the local Sears store has been storing it for me until I'm ready for it. I'm quite honestly almost there but am delaying until I figure out if I want to do some sort of garage-floor coating. My understanding is the professionally-applied products are superior, but that'd cost me about $1k and I don't want to spend that money until after I have an income (that isn't from my retirement funds). I figured out over time that I don't want a speckled floor, locating dropped items can be hard. And some of those coatings can be really slippery when wet so I don't know if I even want such a coating. When I have the garage back together and usable again, my first project is gonna have to be finishing my brother's blown-up Taurus SHO. ~~ I read through your EFI thread, OK, now the Arduino makes sense. I try to read just about everything on both here & FTE but it's hard to make sense of threads on here because I can't automatically go to the first unread post in a thread, I need to start at the most recent post and work backwards. That gets annoying and my mind loses focus as to what the discussion was originally about and how it got to where it's at at when I return to it and read backwards. If you have an "in" with those Nabble guys, tell them that one feature or capability would be worth gold. |
|
Thanks again for moving this post, Gary!
My last update on this site is when I installed the 220V cabling in the walls. Since then, I installed the actual electrical boxes, the piping for the gas heater & in-wall compressed air, and insulation in the walls : 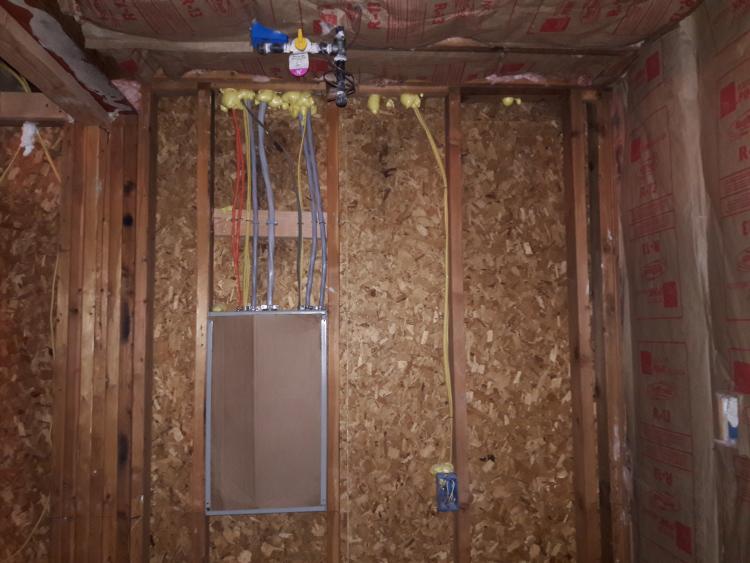 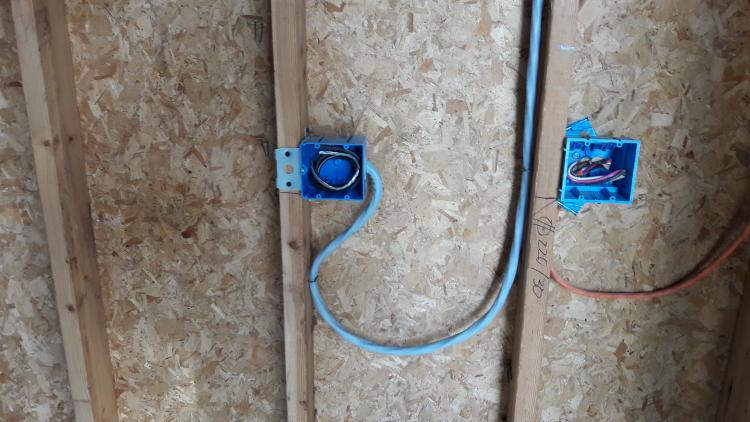 I then got a new garage floor! No pictures of that per se, it's a concrete slab and everybody knows what they look like, but I have some shots of the old one's removal: 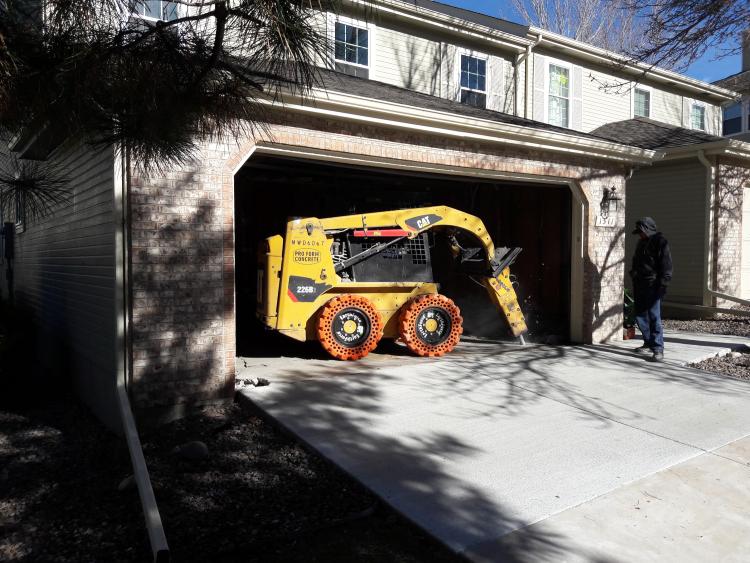 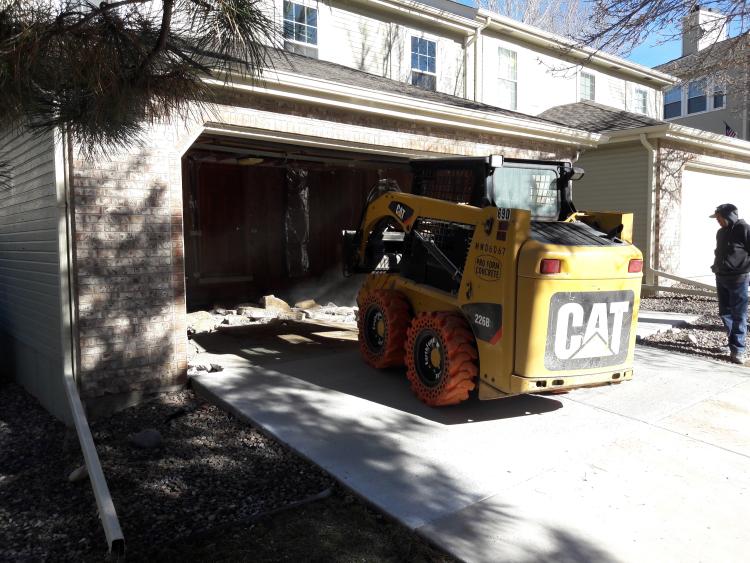 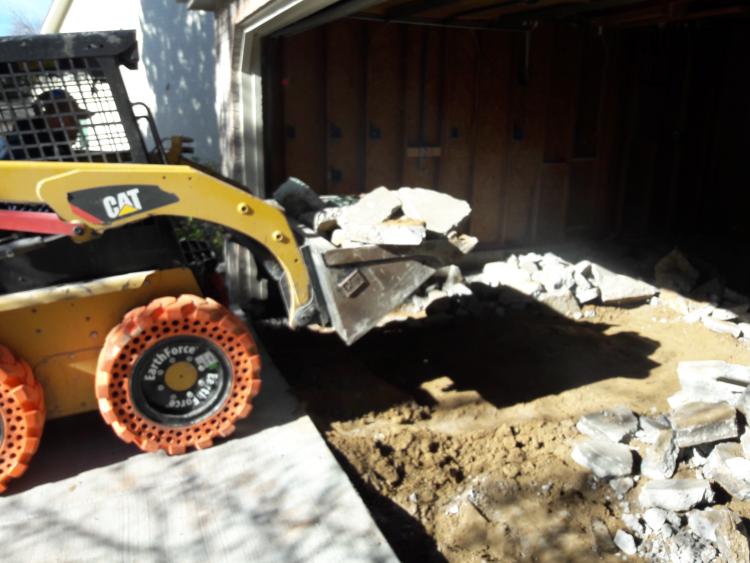 The depression in the floor is where the receiver hitch will be: 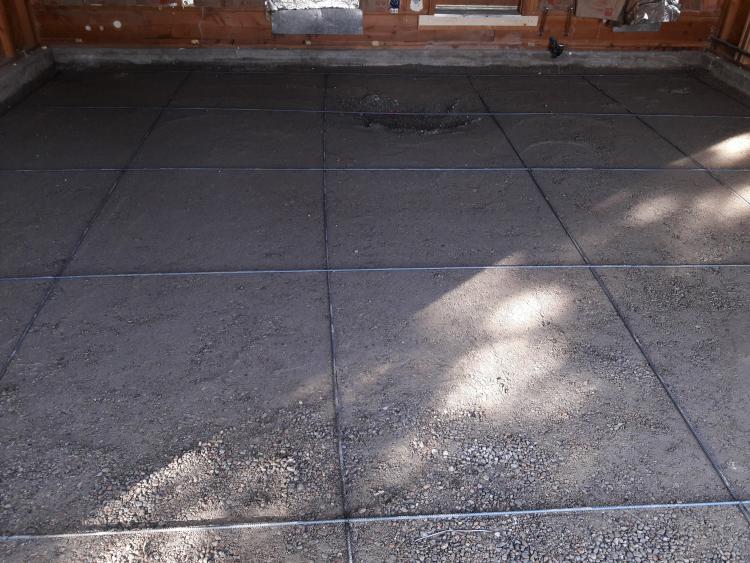 Someplace on FTE I had asked about what to use as an embedded support for a floor-mounted winch. I got lots of good ideas and decided to go with 1) an embedded receiver hitch, and 2) Qty (4) sunken anchors into which I can insert bolts. This is how I learned to do the sunken anchors: 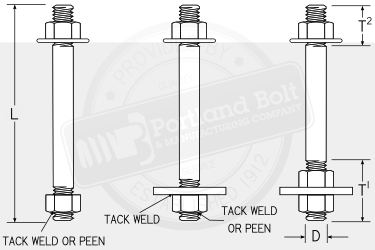 And here are the anchors I actually installed; the gold-colored components are what is exposed up top: 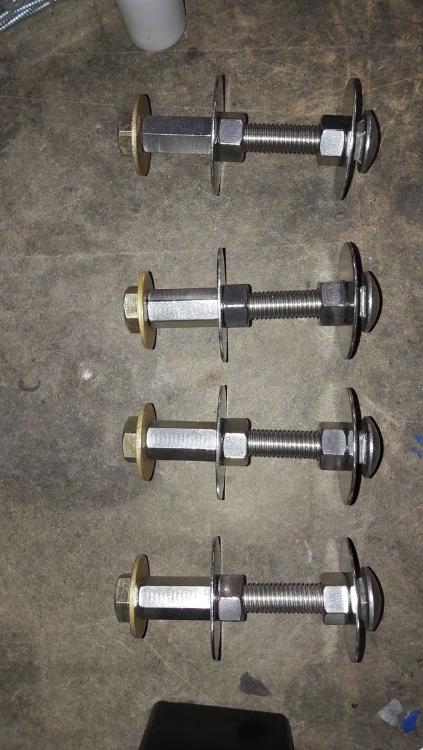 Here is the receiver hitch with a steel strengthening rod through it (so it can't be pulled up out of the floor): 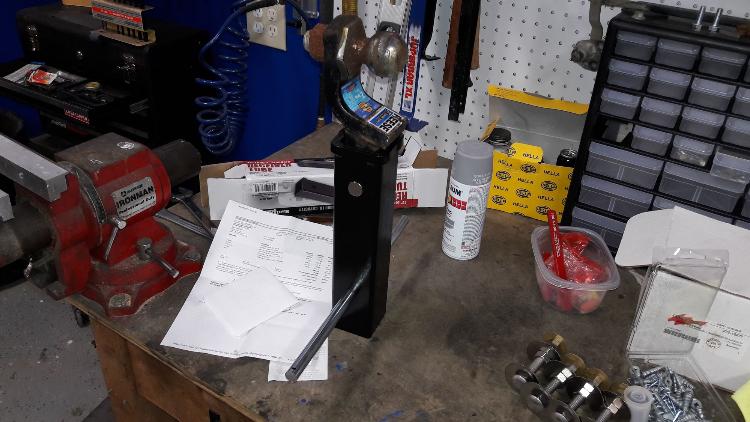 And here is how the finished installation looks before concrete smoothing: 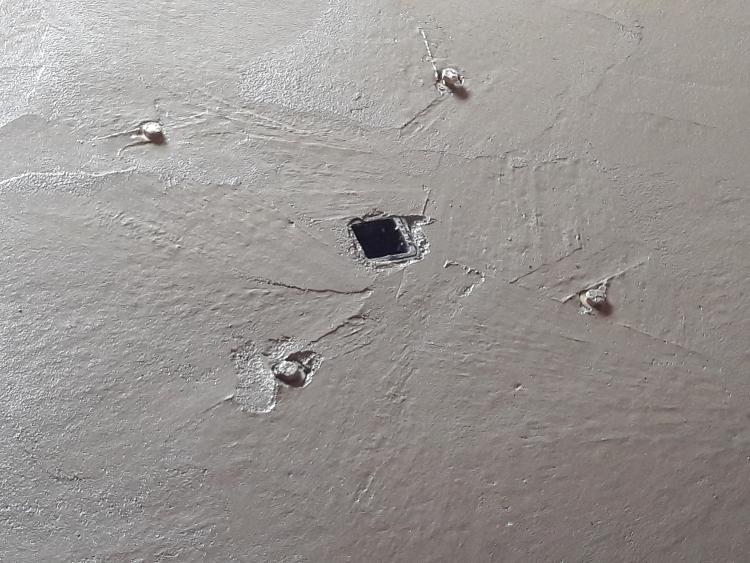 I am thinking of fabbing up some sort of steel I-beam-type of winch mount and attaching that to something that can be inserted into the receiver hitch, or maybe it can be bolted to the floor directly. Or both, or either, I really don't know yet. I then had the drywall installed, I'm leaving the I-beam exposed with the intention of it being a trolley for some sort of overheard winch: 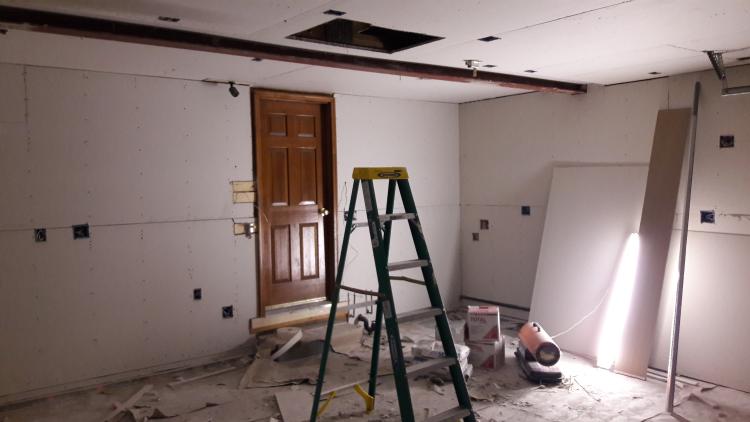 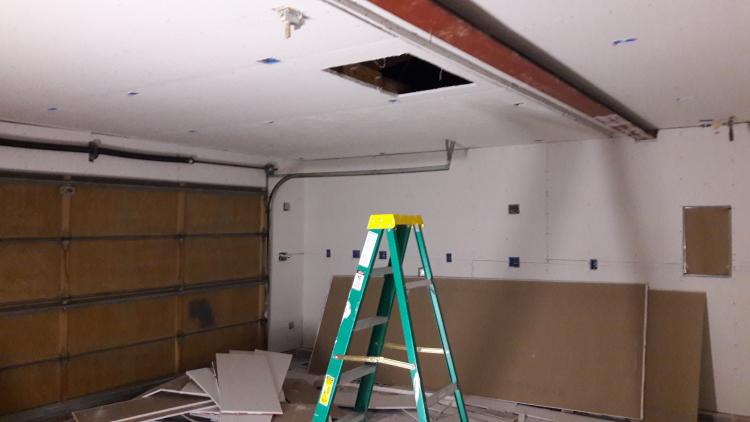 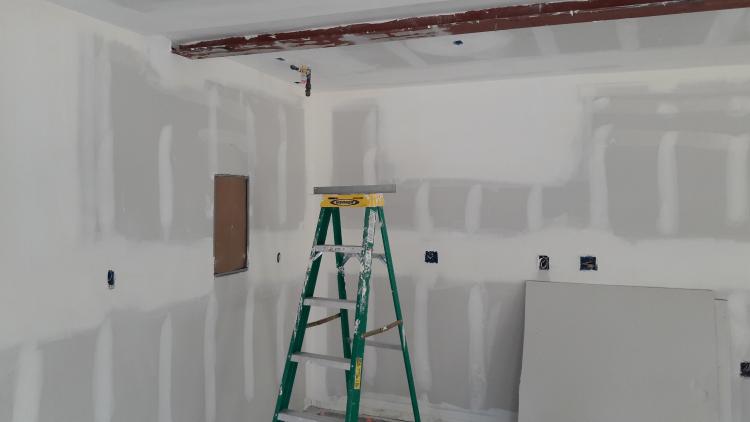 Then, the new garage door opener given to me by my friend Tom: 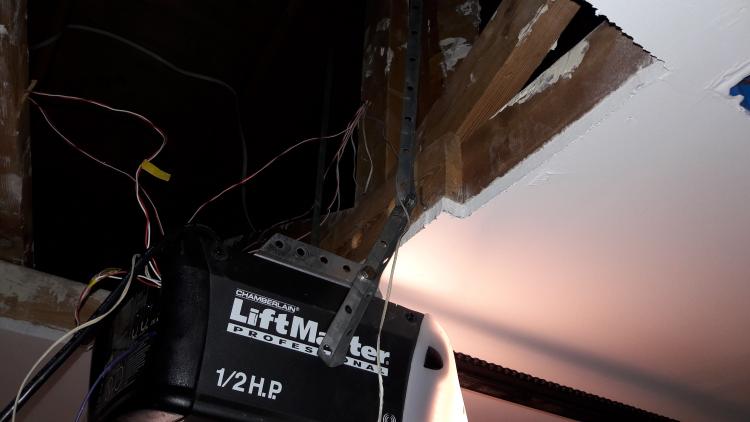 Then, came paint: 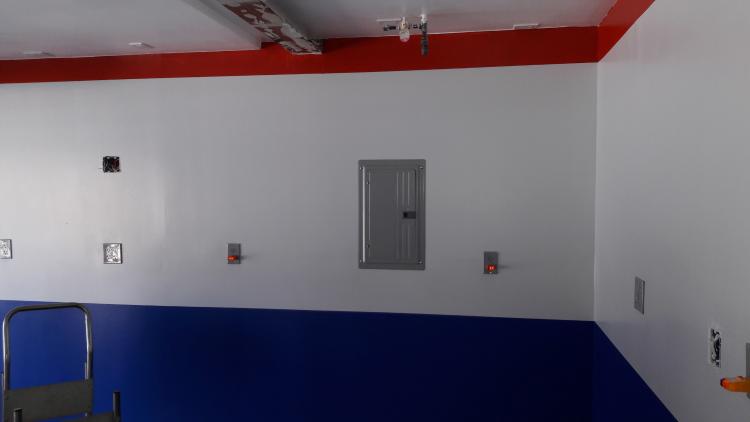 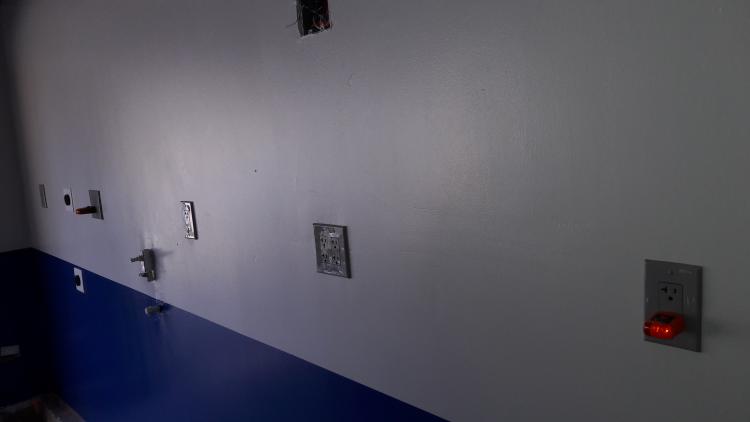 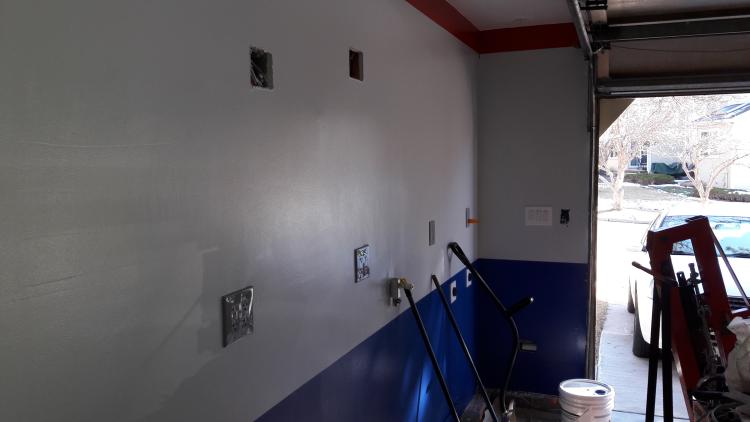 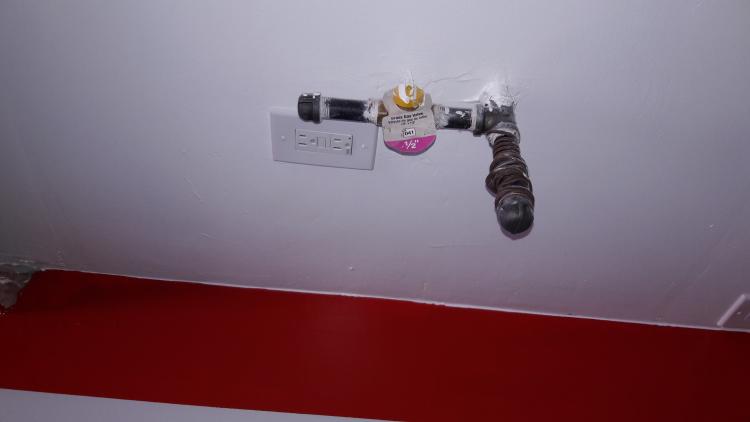 Followed by a retro-decorative-yet-functional-type of accessory kinda like the oscilloscope in your shop - a 1970s, rotary-dial, wall-mount telephone with an add-on Caller ID box from Radio Shack: 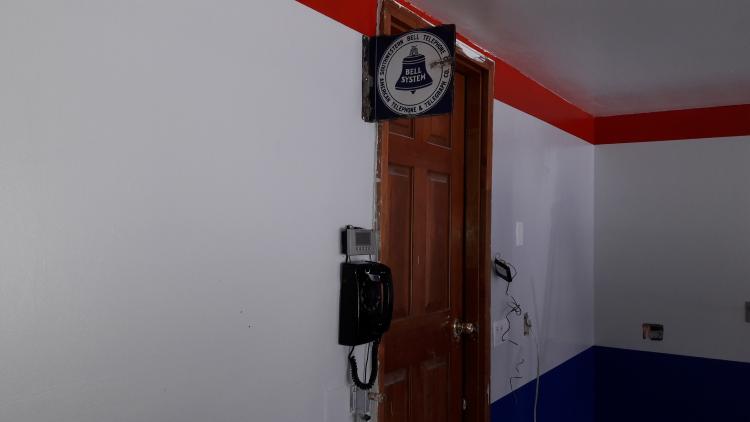 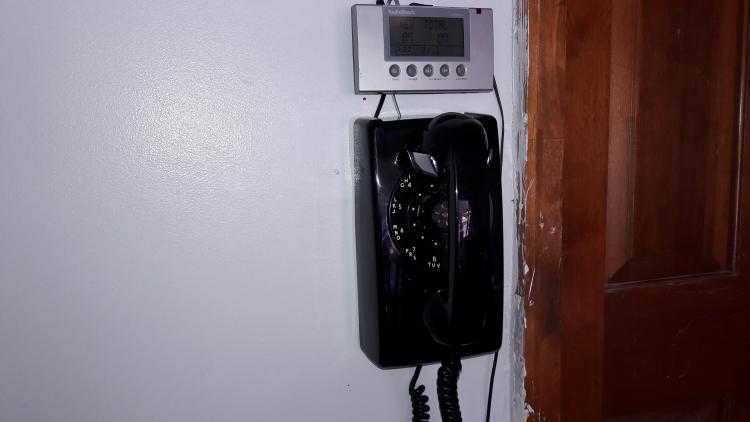 The sign on the wall above is an authentic AT&T/Bell System sign I picked up at an antique store during my road trip with ND Bill last summer: 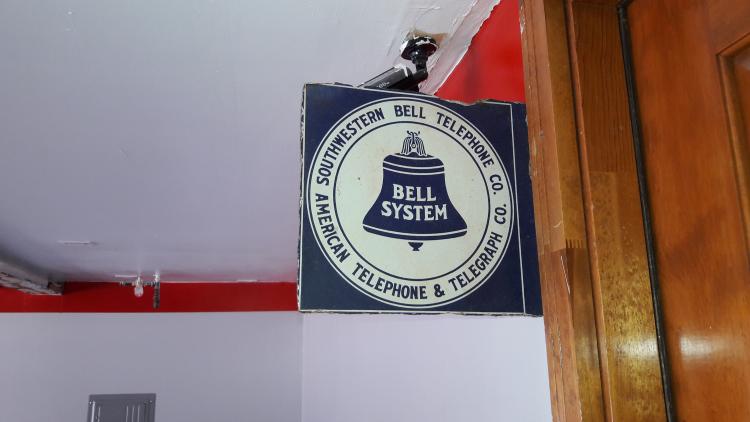 And this is basically how it sits until 1) I decide if I want to do some sort of floor coating, and 2) I figure out what to do for lighting (my original plan had me doing recessed fluorescents but I was convinced to not do that; I now have lots of half-switched-half-constant outlets in the ceiling for whatever surface-mount LED things eventually go up there). I still have lots of clean-up to do, the compressed-air outlets get hit with paint kinda badly: 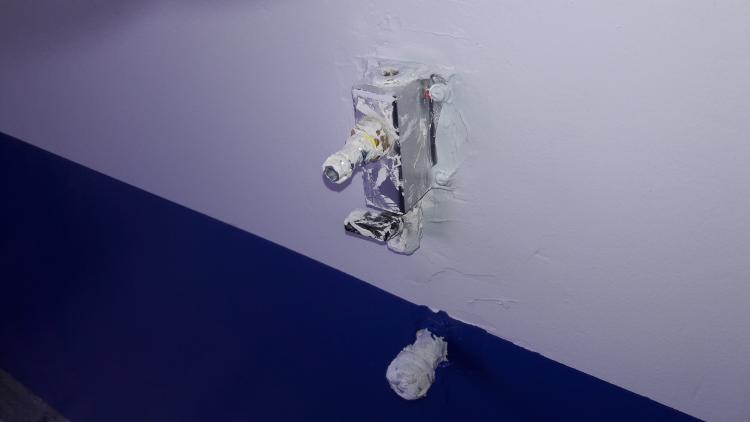 I will FINALLY be able to use an arc welder I got about 10 years ago from my father's uncle (never had the electricity for it before): 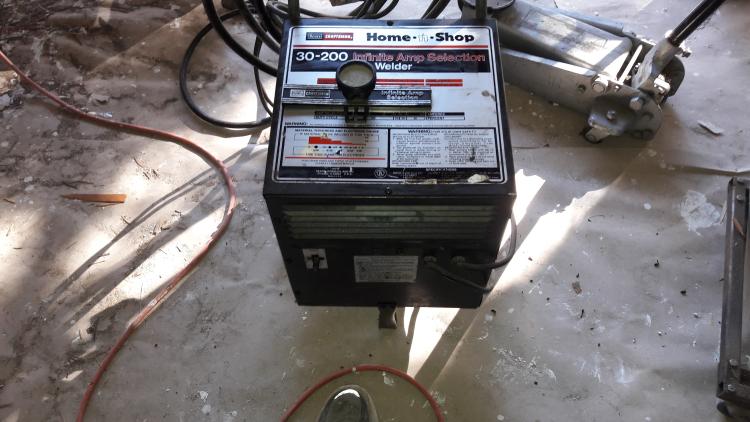 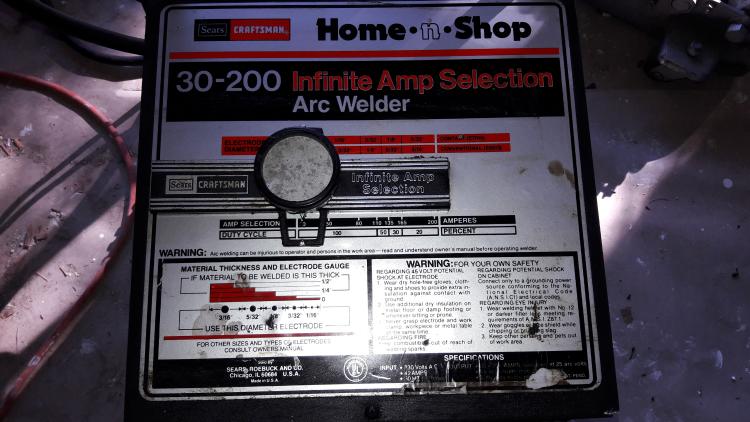 And, can't forget the security camera hooked to the DVR  : :
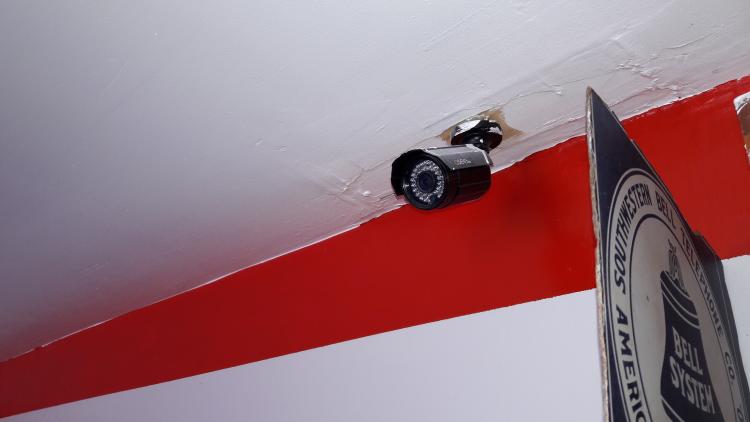
|
Re: New Garage has morphed into New House :)
|
Administrator
|
Chris - It is all coming together! Looking good.
 On the winch mount, I would set up a plate with holes for the 4 bolts and weld a cut-off draw bar to the bottom. The bolts keep the plate from coming up off the floor, and the draw bar, which is set in the 4" or more of concrete, won't allow the plate to move laterally. We talked about lighting, but to remind you, look for lighting with a high Color Rendering Index - CRI. Something with at least a .8 or 80% rating. And, place some lights near the wall on the ceiling so it'll reflect off the wall and then off the floor to go under a vehicle. Plus, those lights set to the side will also not be blocked by someone working in an engine compartment, so light gets to the engine.
Gary, AKA "Gary fellow": Profile
Dad's: '81 F150 Ranger XLT 4x4: Down for restomod: Full-roller "stroked 351M" w/Trick Flow heads & intake, EEC-V SEFI/E4OD/3.50 gears w/Kevlar clutches
|
|
Thanks, Gary! :)
Draw bar welded to plate steel... yeah, something like that that will be 1) held down (won't come up), and 2) can't move laterally. Maybe I can weld a steel I-beam onto the plate steel device we're talking about, something onto which I can attach a winch. Those anchor bolt locations aren't exactly what I was wanting, I was originally thinking of something like: o o [] O O But I had to go through 3 levels of translators to get the concrete installer guys to even do THAT! Their first configuration had the things sticking up off the surface about 2 inches. So I figured what they ultimately gave me is good enough and will just have to work. ~~ Lights on the ceiling near the wall... I've already been thinking about that!  I figured out with my previous lighting (2ft x 4ft recessed fluorescent fixtures from an office building that I mounted between the overhead 2x4 rafters/joists/whatever) that I really want light where the ceiling meets the walls (particularly in the corners), and now with your input of it reflecting off the walls, I'm now thinking of installing long, skinny strips the entire fore/aft length of the garage where the walls meet the ceiling. I figured out with my previous lighting (2ft x 4ft recessed fluorescent fixtures from an office building that I mounted between the overhead 2x4 rafters/joists/whatever) that I really want light where the ceiling meets the walls (particularly in the corners), and now with your input of it reflecting off the walls, I'm now thinking of installing long, skinny strips the entire fore/aft length of the garage where the walls meet the ceiling.
I have a separate electrical circuit for lights located directly above an open garage door, I'll be able to turn them on separately when I'm working in the garage with the door closed. As for the remainder of the lighting, not sure yet. It's a garage so I don't need anything exceedingly decorative but I'd kinda like something a bit nicer than the utilitarian fluorescent shop lighting I'm used to (so long as it doesn't cost a whole bunch). Man, my local home center/hardware stores don't have anything like I want in stock, everything is gonna have to be ordered online. The building inspectors come tomorrow to check the gas line with a gauge & the 240V electricity, hopefully this will be the last time for THIS permit! (Although I have to get another one to install the heater.) |
Re: New Garage has morphed into New House :)
|
Administrator
|
Chris, I will try to look at the left over sealer Mary's cousin put on my floor tomorrow. It's not slippery and cleans up pretty well.
Bill AKA "LOBO" Profile
"Getting old is inevitable, growing up is optional" Darth Vader 1986 F350 460 converted to MAF/SEFI, E4OD 12X3 1/2 rear brakes, traction loc 3:55 gear, 160 amp 3G alternator Wife's 2011 Flex Limited Daily Driver 2009 Flex Limited with factory tow package Project car 1986 Chrysler LeBaron convertible 2.2L Turbo II, modified A413 |
Re: New Garage has morphed into New House :)
|
Administrator
|
Chris, I like the patriotic paint theme!
|
|
Yeah, I had to be careful there with the coloring, I don't want it to look like a giant American flag. The walls are actually a light shade of gray and only the ceiling is white, but you probably can't really see that in the pictures.
All the paint is exterior semi-gloss enamel to make it easier to clean/squirt with a garden hose. :) |
Re: New Garage has morphed into New House :)
|
Administrator
|
I forgot to comment on the phone and the Bell sign. I was jealous of the sign when you showed it to me while you and Bill were here. It sure looks good there.
 And, now that you may have a place to display it, if you want the 'scope back that's no problem. It would look good as well.
Gary, AKA "Gary fellow": Profile
Dad's: '81 F150 Ranger XLT 4x4: Down for restomod: Full-roller "stroked 351M" w/Trick Flow heads & intake, EEC-V SEFI/E4OD/3.50 gears w/Kevlar clutches
|
|
In reply to this post by 85lebaront2
That would be cool, Bill, thank you! I want to go to the various paint & home improvement stores awa the Home & Garden show up in the city next weekend (or so) to see if I can maybe find whatever it is you tell me. :) |
|
Does anybody remember the contraption in the floor onto which I can attach a winch? What should that be?
I decided on an embedded receiver hitch + 4 anchor bolts in the floor, now need to figure out how to mount a winch to that stuff. 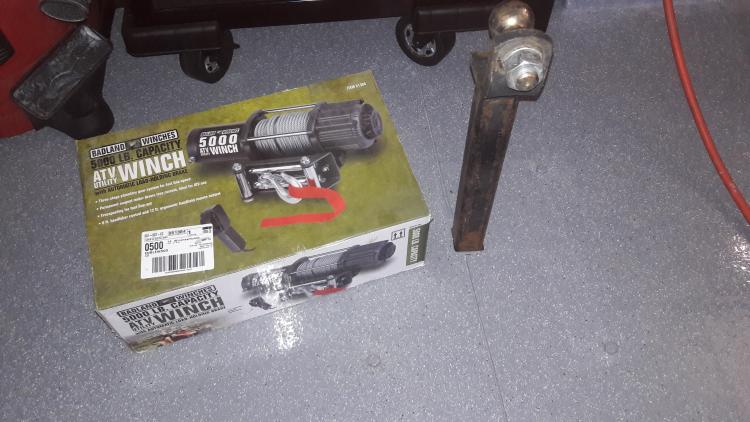 Last seen here as:  and 
|
Re: New Garage has morphed into New House :)
|
Administrator
|
Yep, I remember it. But, I don't see in the above posts what is in the concrete that the bolts screw into. I ask because my 12,000 lb winch bolts to the bumper with 4 bolts - and that's it. Granted they are the equivalent of G8's, but if what you have in the concrete is significant then you might not need the draw bar part of the equation. But, you have it so why not use it.
For max strength I'd make the plate of 1/4" thick material (my Warn bumper of made of 1/4" plate) a bit bigger than the bolt holes in the floor. Put those holes in it and then lay out the holes for the winch, centered as much as you can. Then weld nuts to the backside for the winch, just tacking G8 nuts to keep the heat down. Then in the very center cut a hole just to fit the drawbar. Cut part of the drawbar off and slip it in the hole in the floor. Put the plate over it, and mark the top of the drawbar where it comes through the plate and then cut the drawbar down. To get the strongest weld you need maybe 3/8" of the drawbar above the plate so you can weld to it. But that may interfere with the winch. If so, you may need to space the winch up off the plate to clear the drawbar. You will probably find that things are off just a bit between the drawbar hole and the holes to the bolts in the floor, so those holes will need to be a bit larger than the bolts and you'll need to use washers. But that arrangement should be very strong and will easily hold the force from your winch. Have fun!
Gary, AKA "Gary fellow": Profile
Dad's: '81 F150 Ranger XLT 4x4: Down for restomod: Full-roller "stroked 351M" w/Trick Flow heads & intake, EEC-V SEFI/E4OD/3.50 gears w/Kevlar clutches
|
Re: New Garage has morphed into New House :)
Keep in mind that if you space the winch up using loose spacers that you will be putting the bolts in bending rather than shear. That makes the bolts holding the winch to the plate much less strong. If you attach the spacers to the plate (strongly enough to not break free), then you will still have the bolts in shear.
Bob
Sorry, no '80 - '86 Ford trucks "Oswald": 1997 F-250HD crew cab short box, 460, E4OD, 4.10 gears "Pluto": 1971 Bronco, 302, NV3550 5 speed, Atlas 4.3:1 transfer case, 33" tires "the motorhome": 2015 E-450-based 28' class C motorhome, 6.8L V-10 "the Dodge": 2007 Dodge 2500, 6.7L Cummins |
Re: New Garage has morphed into New House :)
|
Administrator
|
Good point. I was expecting the drawbar to take the load though.
Gary, AKA "Gary fellow": Profile
Dad's: '81 F150 Ranger XLT 4x4: Down for restomod: Full-roller "stroked 351M" w/Trick Flow heads & intake, EEC-V SEFI/E4OD/3.50 gears w/Kevlar clutches
|
Re: New Garage has morphed into New House :)
|
I was thinking of the bolts holding the winch to the plate. You suggested allowing the drawbar to stick 3/8" above the plate to allow welding it top and bottom, and then spacing the winch up off the plate to clear the top of the drawbar. I'm suggesting welding those spacers to the plate so the bolts holding the winch to the plate are in shear.
Bob
Sorry, no '80 - '86 Ford trucks "Oswald": 1997 F-250HD crew cab short box, 460, E4OD, 4.10 gears "Pluto": 1971 Bronco, 302, NV3550 5 speed, Atlas 4.3:1 transfer case, 33" tires "the motorhome": 2015 E-450-based 28' class C motorhome, 6.8L V-10 "the Dodge": 2007 Dodge 2500, 6.7L Cummins |
Re: New Garage has morphed into New House :)
|
Administrator
|
Ahhhh! My bad!
 You are absolutely right! Good catch. 
Gary, AKA "Gary fellow": Profile
Dad's: '81 F150 Ranger XLT 4x4: Down for restomod: Full-roller "stroked 351M" w/Trick Flow heads & intake, EEC-V SEFI/E4OD/3.50 gears w/Kevlar clutches
|
|
In reply to this post by Gary Lewis
These things right here, the gold-colored ends (bolts + washer) are exposed:  Which is exactly how I ended up feeling when I was figuring out exactly what to put into the cement... it's easy enough to add all this stuff, so why not. I don't have to use both methods together but I can, it's optional. A heavy-duty approach; typical of engineers, I guess. ;) Seriously, thank you for the idea, I will have to measure and see how large such an assembly would actually be, and where to store it when not in use. The Receiver hitch idea made perfect sense since I'd been using my brother's trailer quite a bit last year, and was already looking at how the winch mounts on that thing. That square tube stuff can be had as stock material. The thought of angle iron + some sort of small base came into my mind if I want to use only the bolts in the floor. Using only the draw bar, I'd want to effectively take your steel plate idea but flip it vertically and mount it + some supporting infrastructure (angle iron, that tube stuff, whatever) to the draw bar. And easily stored when not in use. :) To make both a plate + draw bar assembly, um, hmm.... I'll have to take some measurements.... |
| Edit this page |

