Blue Top For Big Blue?
|
Cool, keep the pics coming Gary! BTW have you ever thought of relocating that oil filter? It's so nasty whenever you have to take it off.
Bradley
86 f250 supercab longbed, 4x4, 460 bored to 472 cubes, ported heads, ARP rod bolts, EFI pistons, 5.08/5.41 lift 114° lobe separation flat tappet cam, notched lifters, Smith Brothers pushrods, stock rockers, Eddy Performer intake, Holley 1850 or 3310 depending on mood, custom curved points dizzy, MSD analog 6al triggered by Pertronix module, zf5 swap, 3g alternator, custom instrument cluster, dual tanks with 38 Gal rear for 57 Gal of fuel capacity, far too much more to mention. 98 Ranger standard cab, rwd, 5-speed, 2.5L, glass pack muffler, dual plugs wired to fire at the same time, coming up on 300,000 miles before too long. Averaging 26-27 mpg. South Georgia. |
|
Administrator
|
In reply to this post by Gary Lewis
Installment #2:
Disconnect the lower shaft: The lower steering shaft connects the steering column with the steering box and it must be disconnected from the box to get the box out. In my pics you'll see the Borgeson lower shaft, which is secured to the box via a set screw. But if I remember correctly the stock shaft has a pinch bolt that goes in a groove in the input shaft on the box, meaning it has to come completely out to get the shaft off.
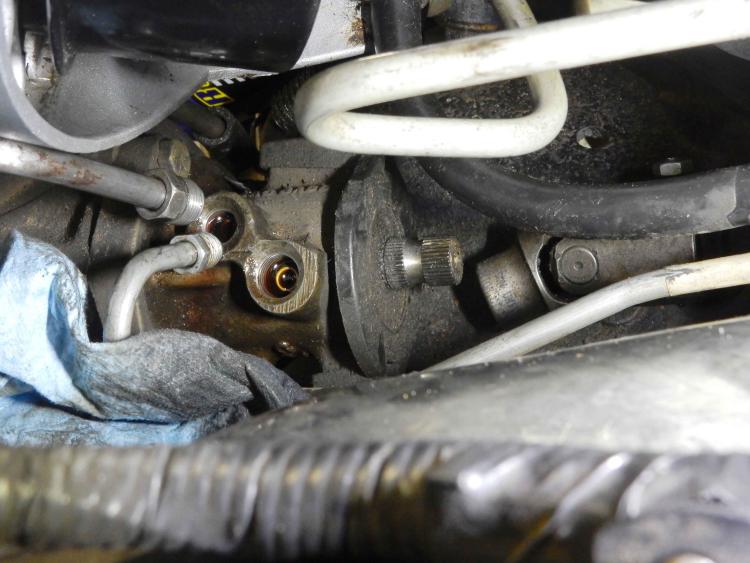
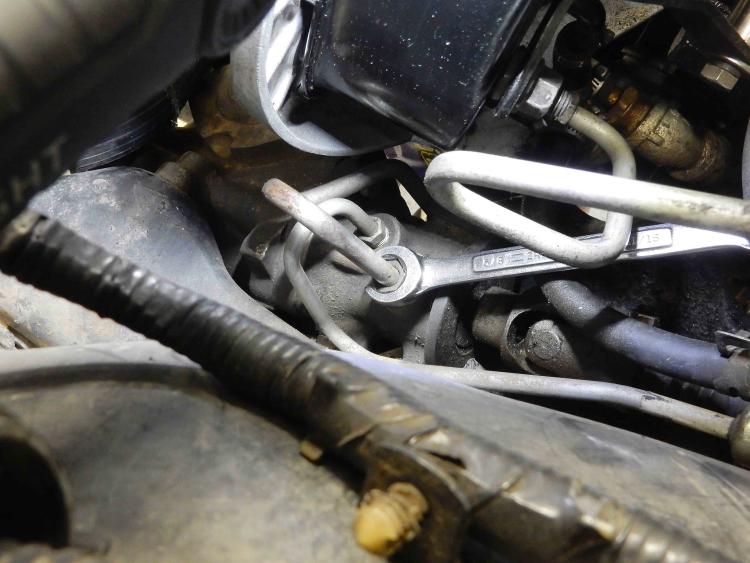
Remove the input & output lines: This is where the "fun" truly starts. |
|
Administrator
|
In reply to this post by Ifitaintbroke
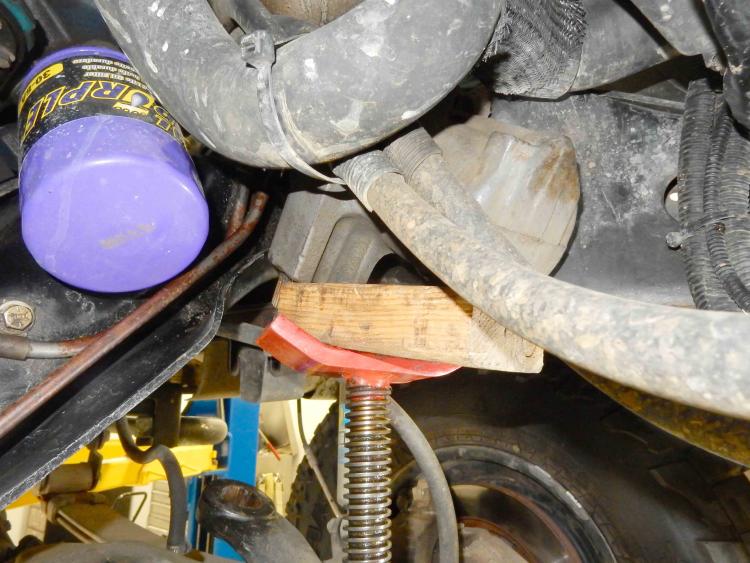
I thought about relocating the filter for 2 seconds, and then realized that there is no room at the inn. With two batteries, two power distribution boxes, and EFI there is literally no where to put it.
So, I have a neat trick that I taught Welder Scott on Saturday. I use a length of aluminum foil and tape it where it'll stay and route the used oil to the catch container. Works very nicely and there's no mess.
Gary, AKA "Gary fellow": Profile
Dad's: '81 F150 Ranger XLT 4x4: Down for restomod: Full-roller "stroked 351M" w/Trick Flow heads & intake, EEC-V SEFI/E4OD/3.50 gears w/Kevlar clutches
|
|
That's a cool idea. I'll put some pics of my setup over on my build thread. When I get it back in that is!

Bradley
86 f250 supercab longbed, 4x4, 460 bored to 472 cubes, ported heads, ARP rod bolts, EFI pistons, 5.08/5.41 lift 114° lobe separation flat tappet cam, notched lifters, Smith Brothers pushrods, stock rockers, Eddy Performer intake, Holley 1850 or 3310 depending on mood, custom curved points dizzy, MSD analog 6al triggered by Pertronix module, zf5 swap, 3g alternator, custom instrument cluster, dual tanks with 38 Gal rear for 57 Gal of fuel capacity, far too much more to mention. 98 Ranger standard cab, rwd, 5-speed, 2.5L, glass pack muffler, dual plugs wired to fire at the same time, coming up on 300,000 miles before too long. Averaging 26-27 mpg. South Georgia. |
|
Administrator
|
Next Installment: Lower Steering Shaft
If you are replacing the lower steering column bearing, which I think is a good idea, then you'll need to pull the lower shaft. That's the one that connects the steering column with the steering box.
I have the vaunted Borgeson shaft, which may be why it was fairly hard to get off the steering column. And on Big Blue there's not much room at all given the hydroboost lines, the EFI wiring, etc. So it was a chore. In fact, it slid down the steering column shaft about 1" and got stuck and no amount of prying or tapping was making it move.
So I ultimately put a ratchet strap from the top u-joint of the lower shaft to the bottom of the radiator support and put a lot of pressure on it. Then I went back to tapping with a brass drift and it finally came off, a little bit at a time.
When I got it off I discovered one source of the slop I've had:
And, by the way, what I should have said in the video is that I've not had the u-joint off the shaft, but I have had the shaft itself off. And I should have noticed then the slop then.
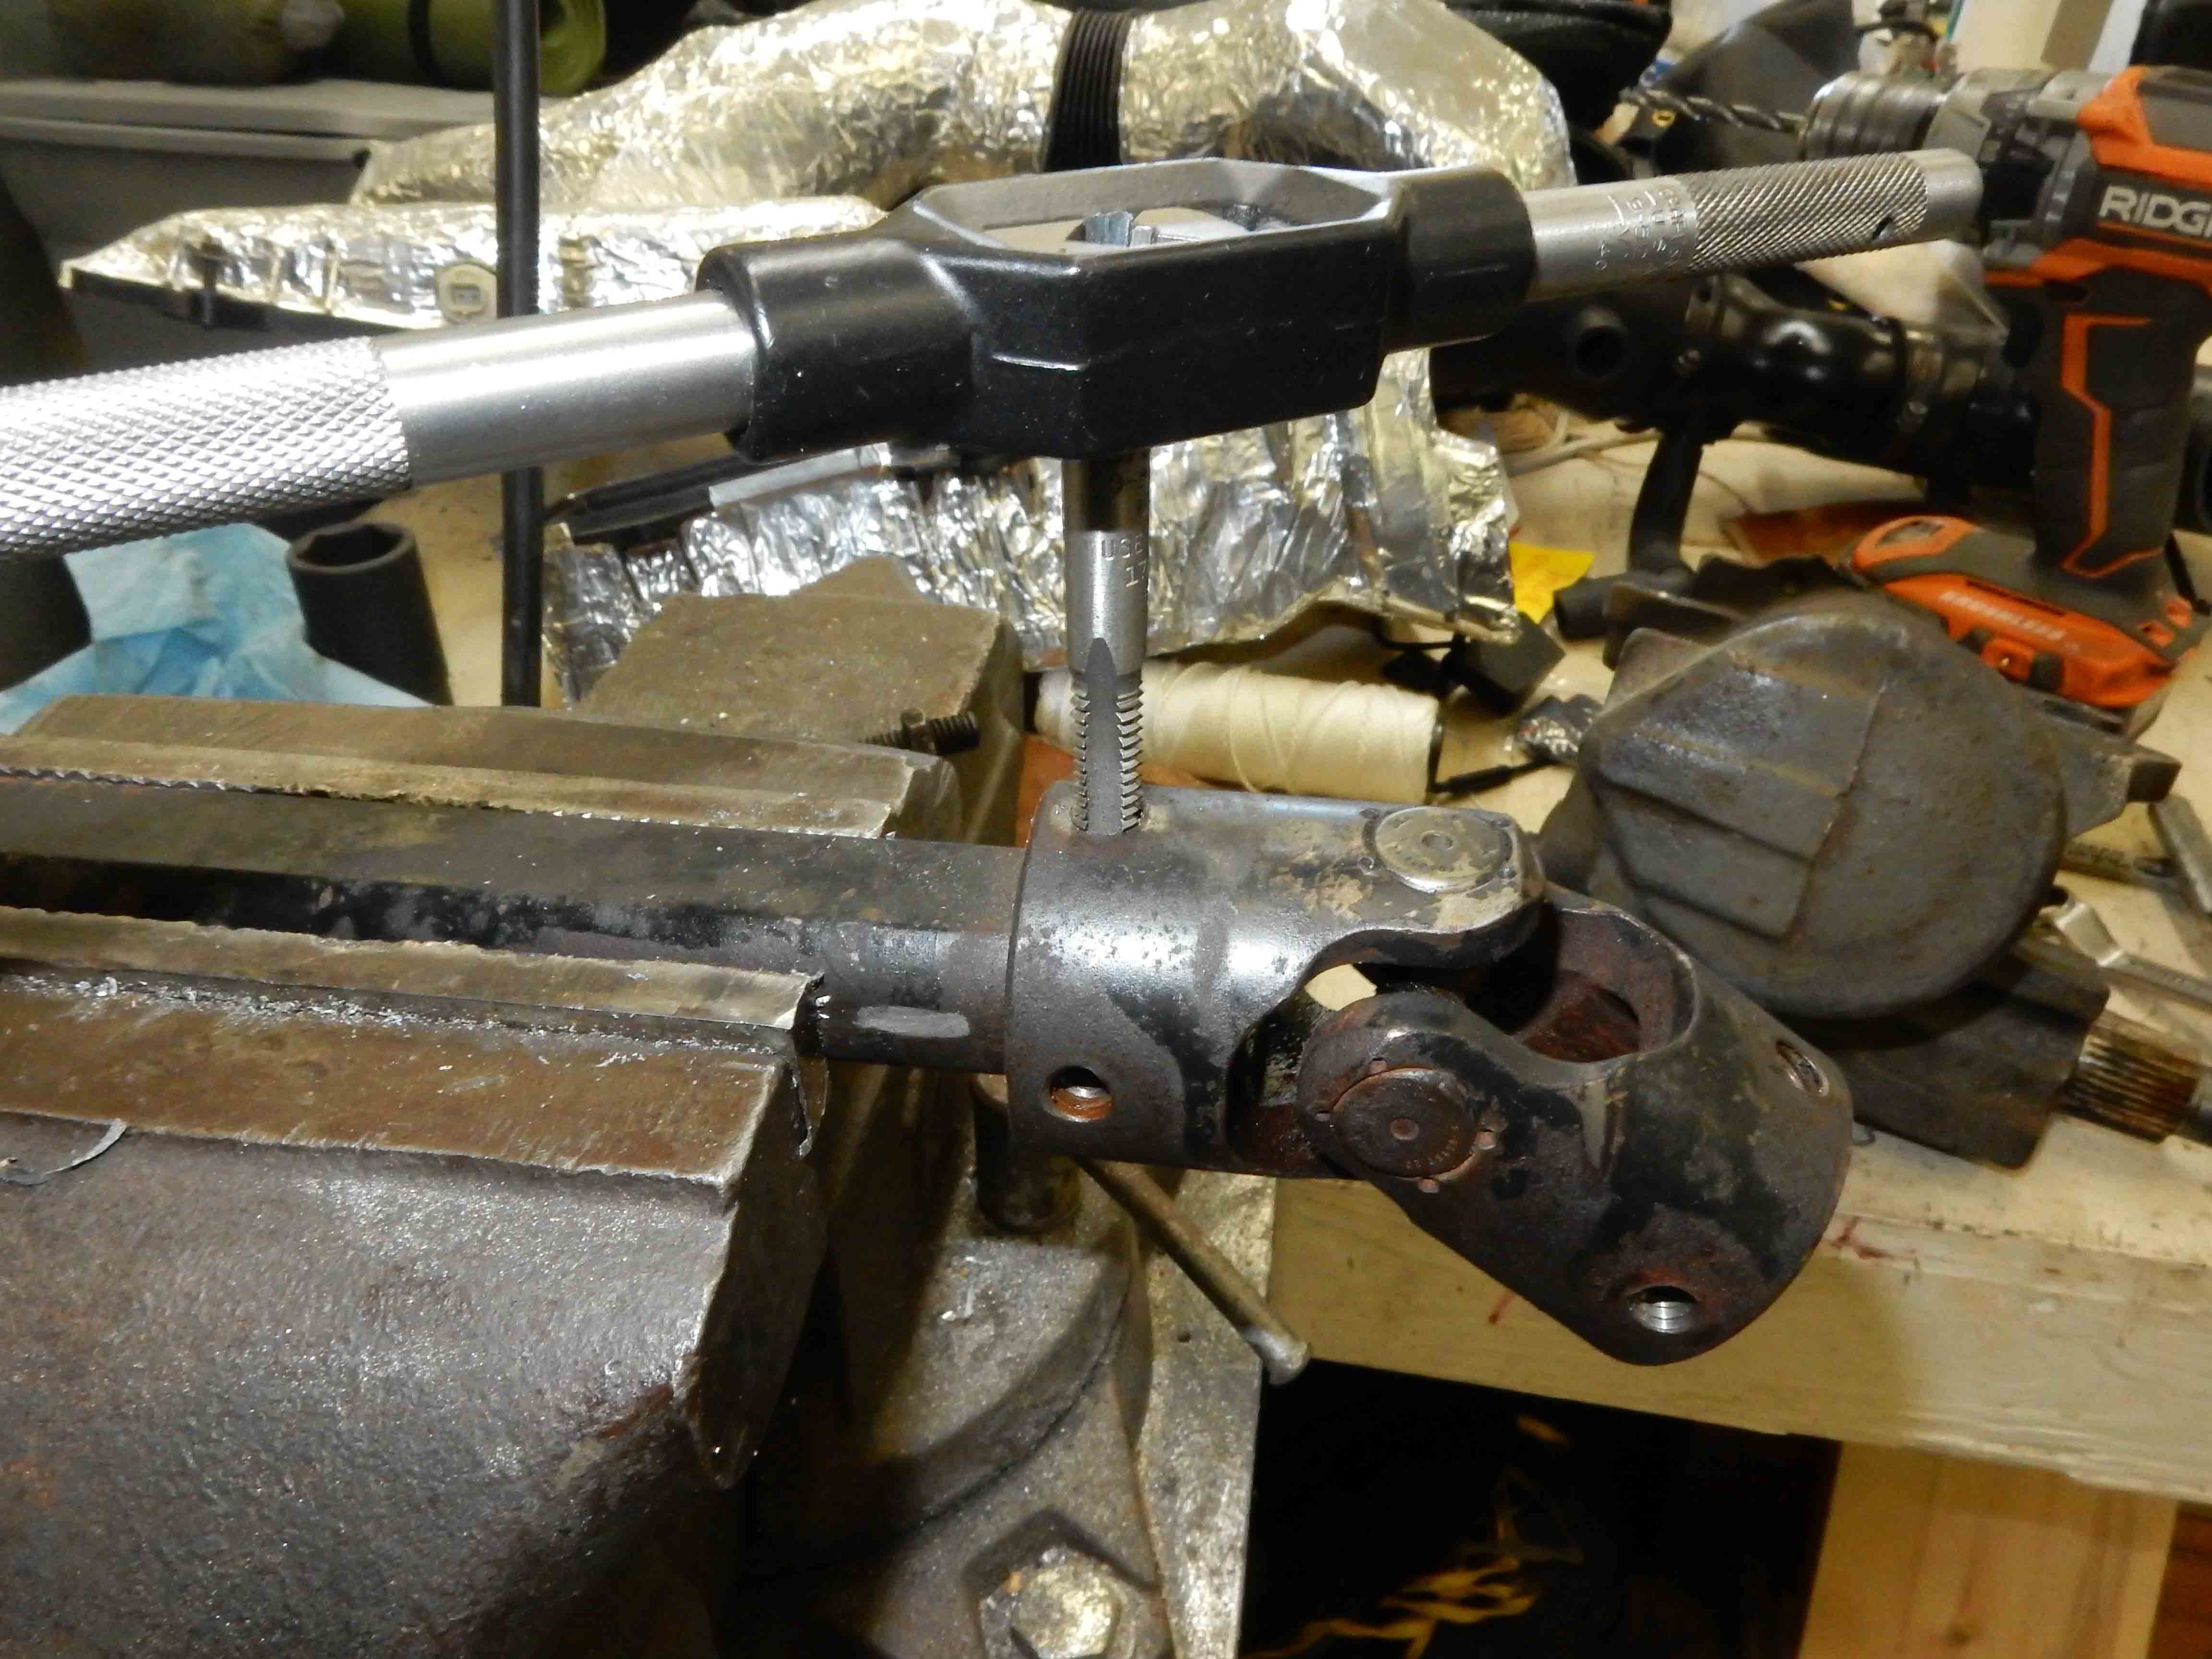
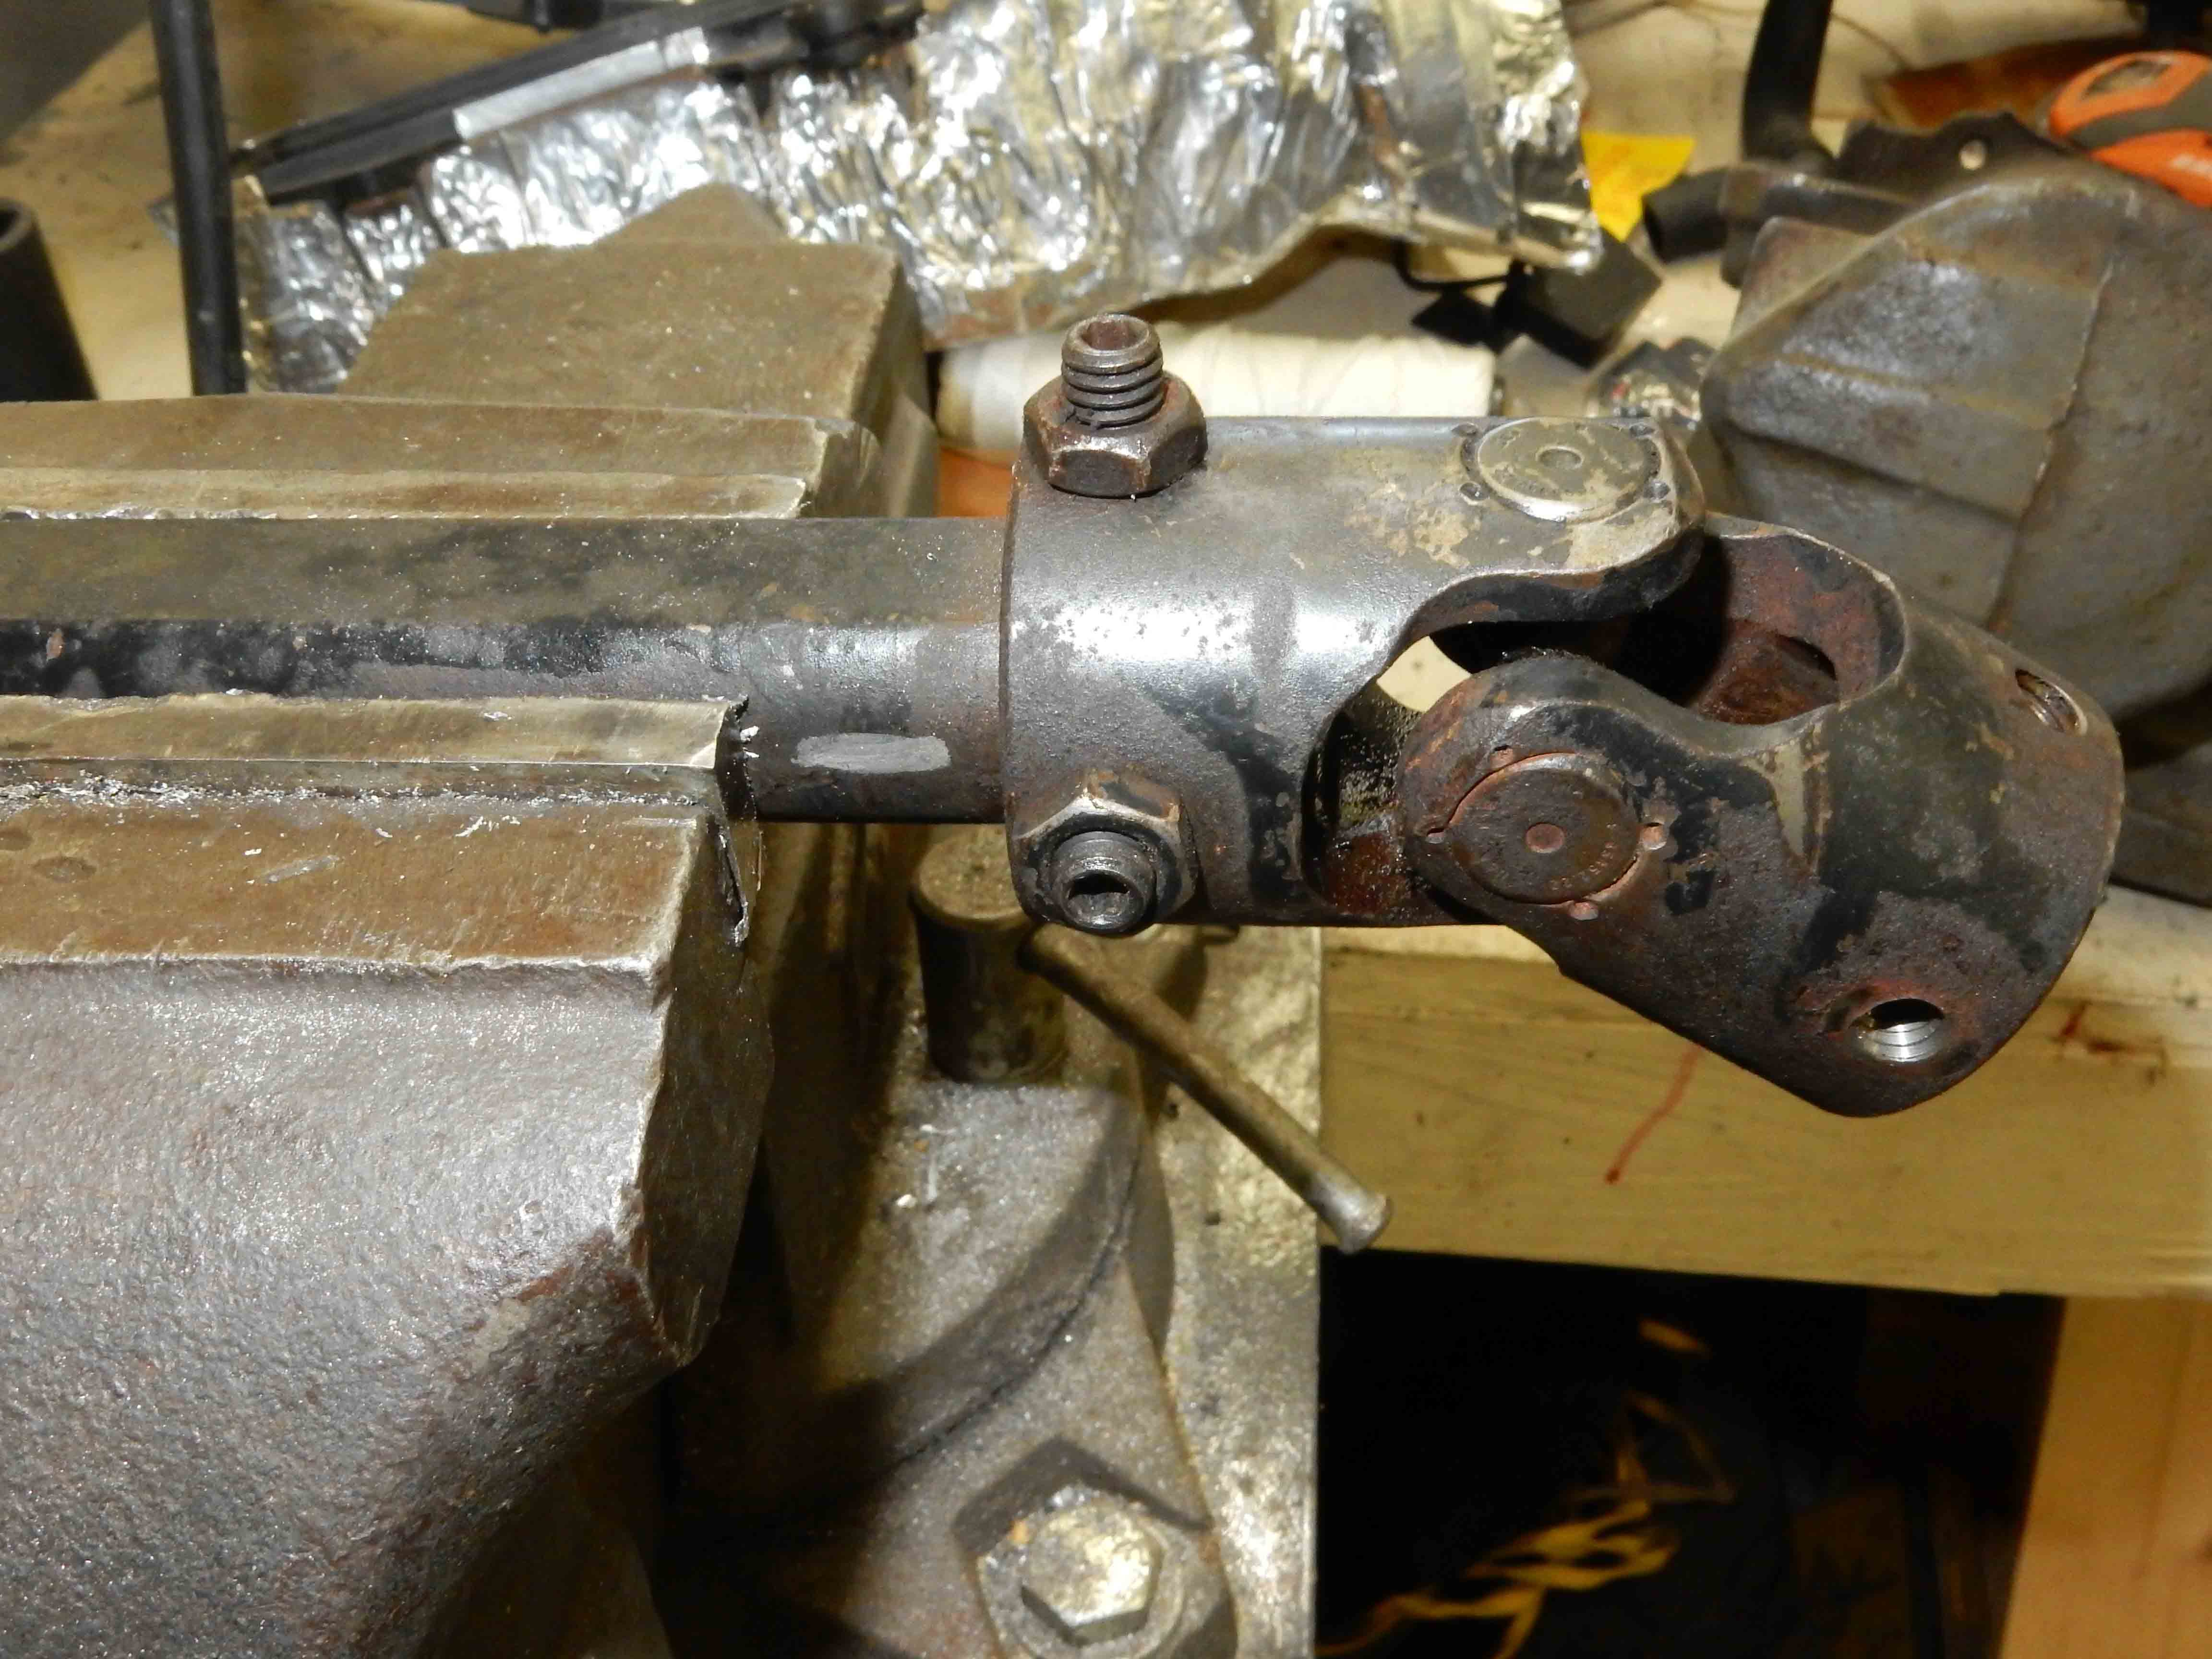
 So I marked where that long set screw hit the flat of the shaft and drilled it 17/64", which is the tap drill size for 5/16-18 as that's what the set screws are. Then I slipped the u-joint on and tapped through it to ensure the threads are indexed correctly. Then I ran the set screw in until it bottomed on the inside of the opposite flat and cinched it down. No more movement.
Gary, AKA "Gary fellow": Profile
Dad's: '81 F150 Ranger XLT 4x4: Down for restomod: Full-roller "stroked 351M" w/Trick Flow heads & intake, EEC-V SEFI/E4OD/3.50 gears w/Kevlar clutches
|
|
Administrator
|
Next up is the lower steering column bearing. There are 3 sheetmetal screws with 1/4" heads that hold it in the bottom of the steering column, and it is a lot easier to get it out if you take all 3 out first. DAHIK.
 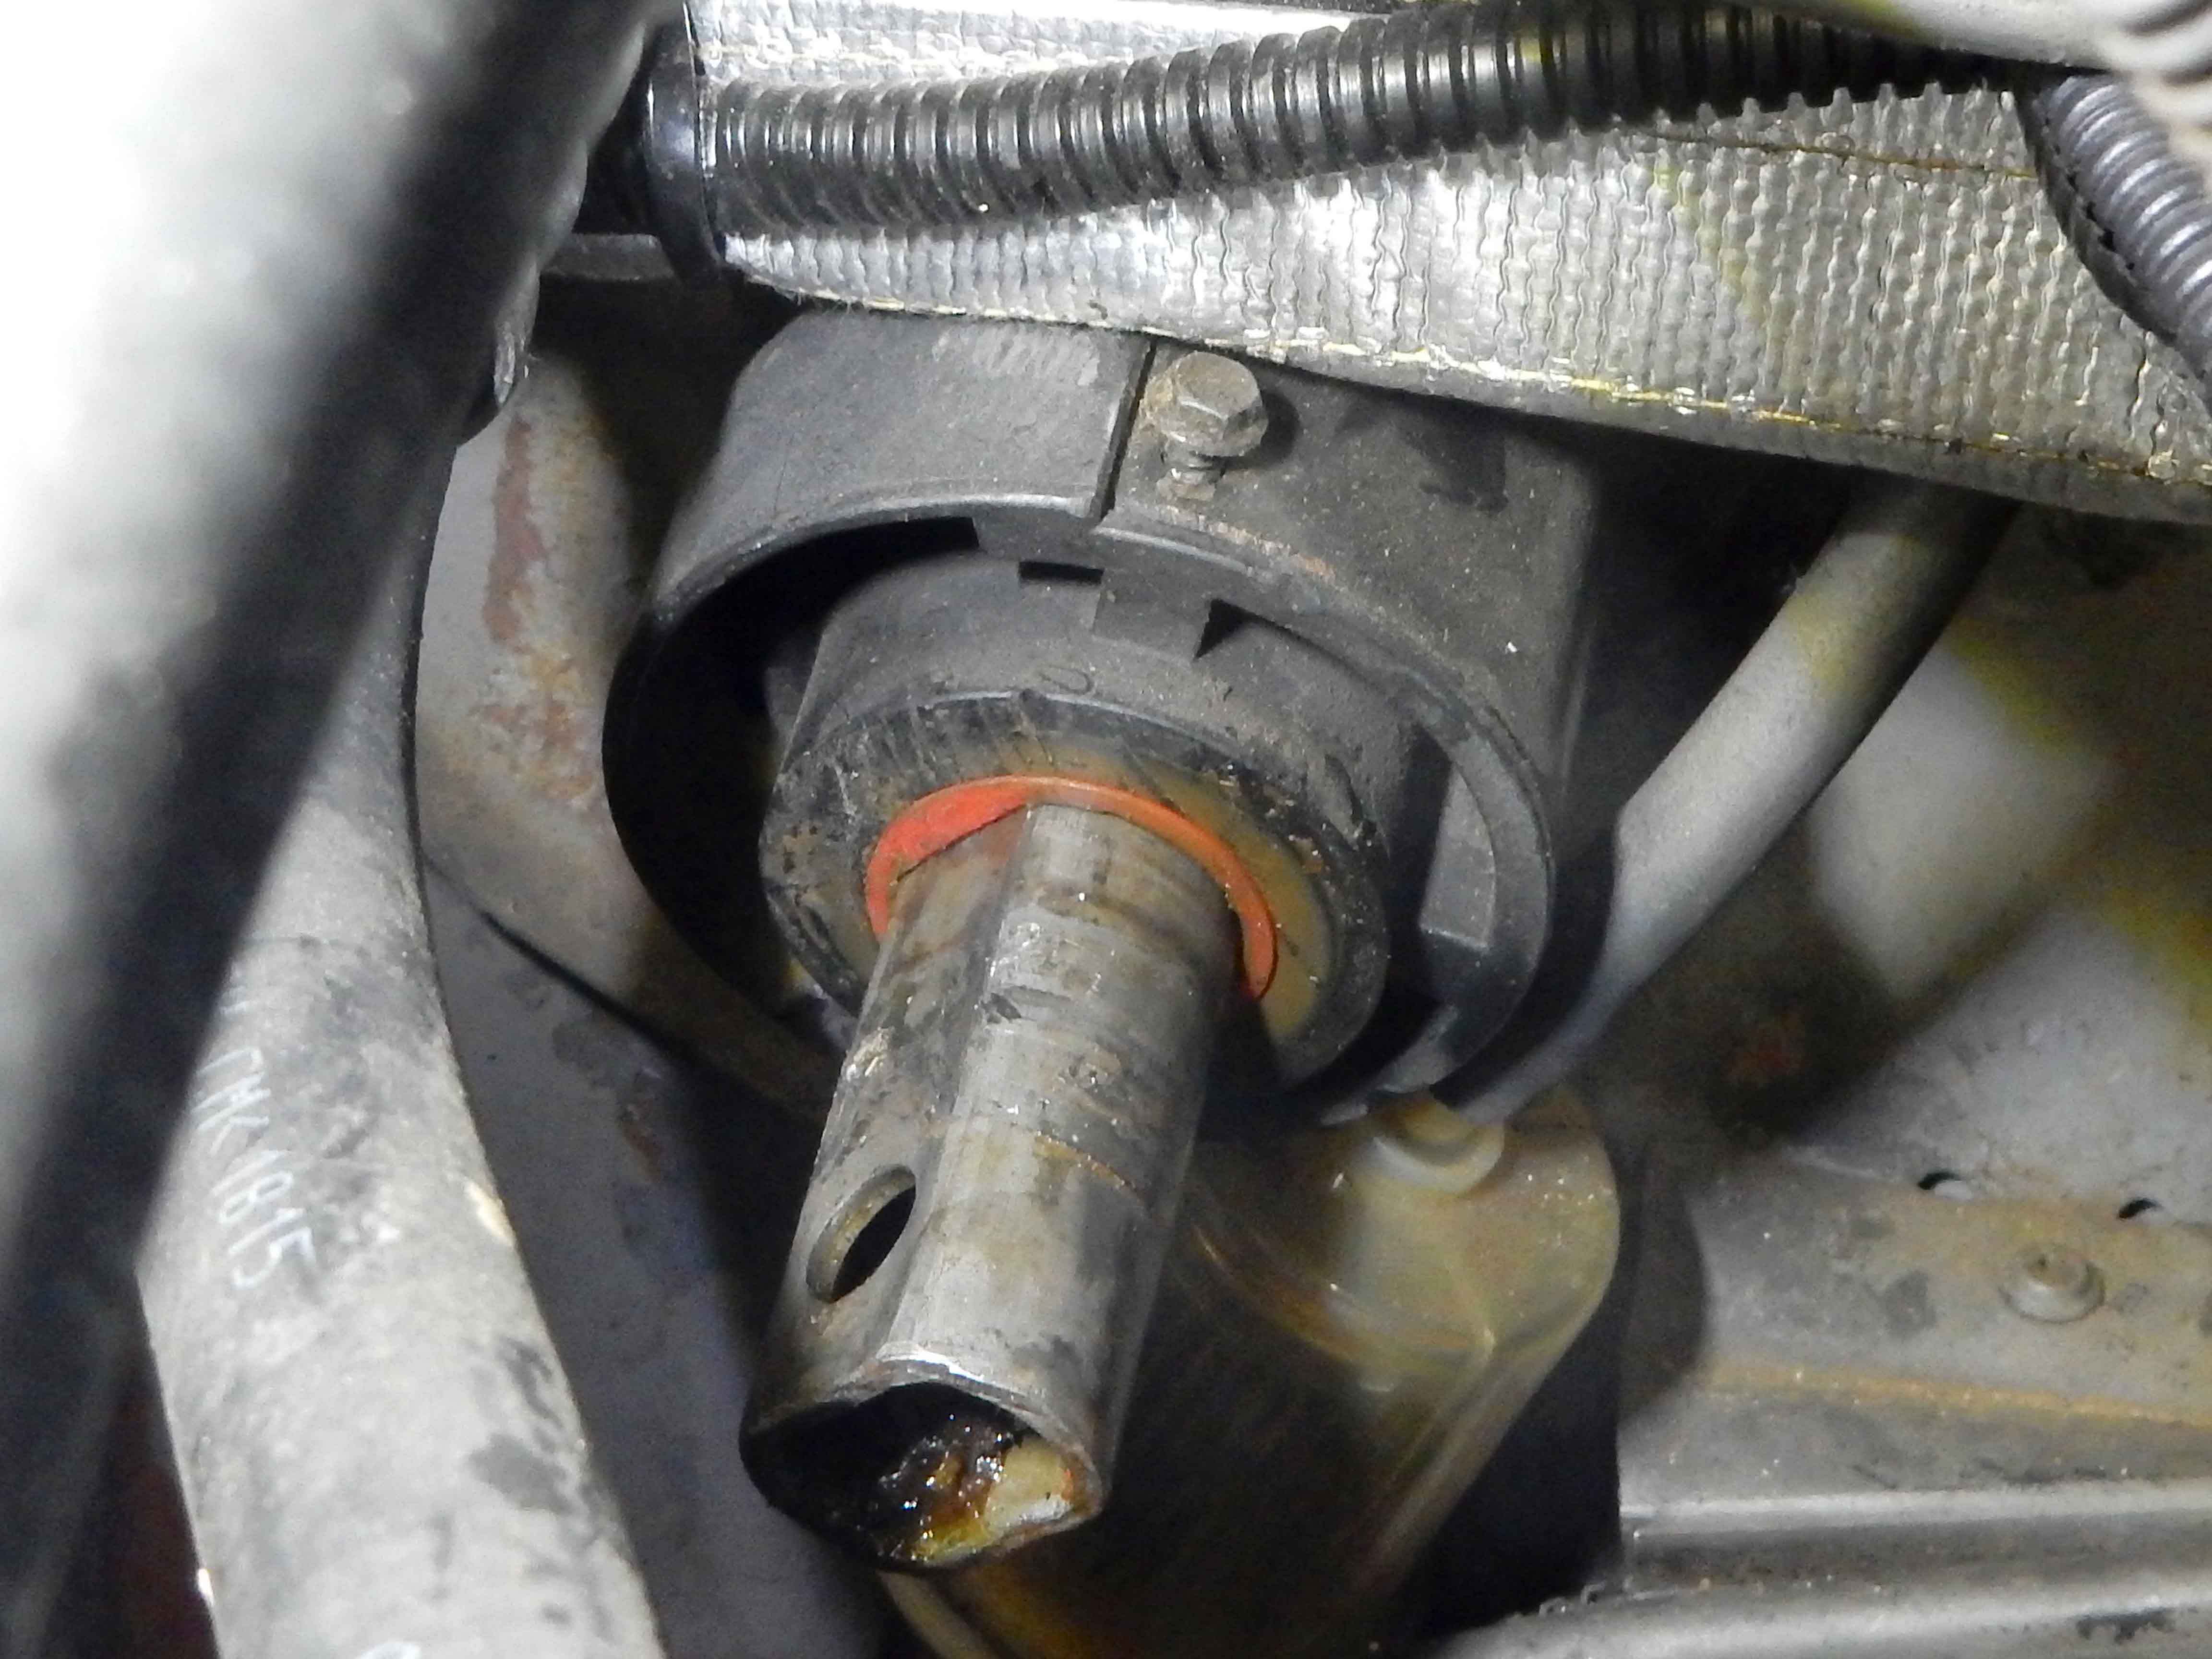 But once the screws are out the bearing came out fairly easily. And the new bearing, as well as the Blue Top box, just came in so here's a comparison. Which would you prefer?  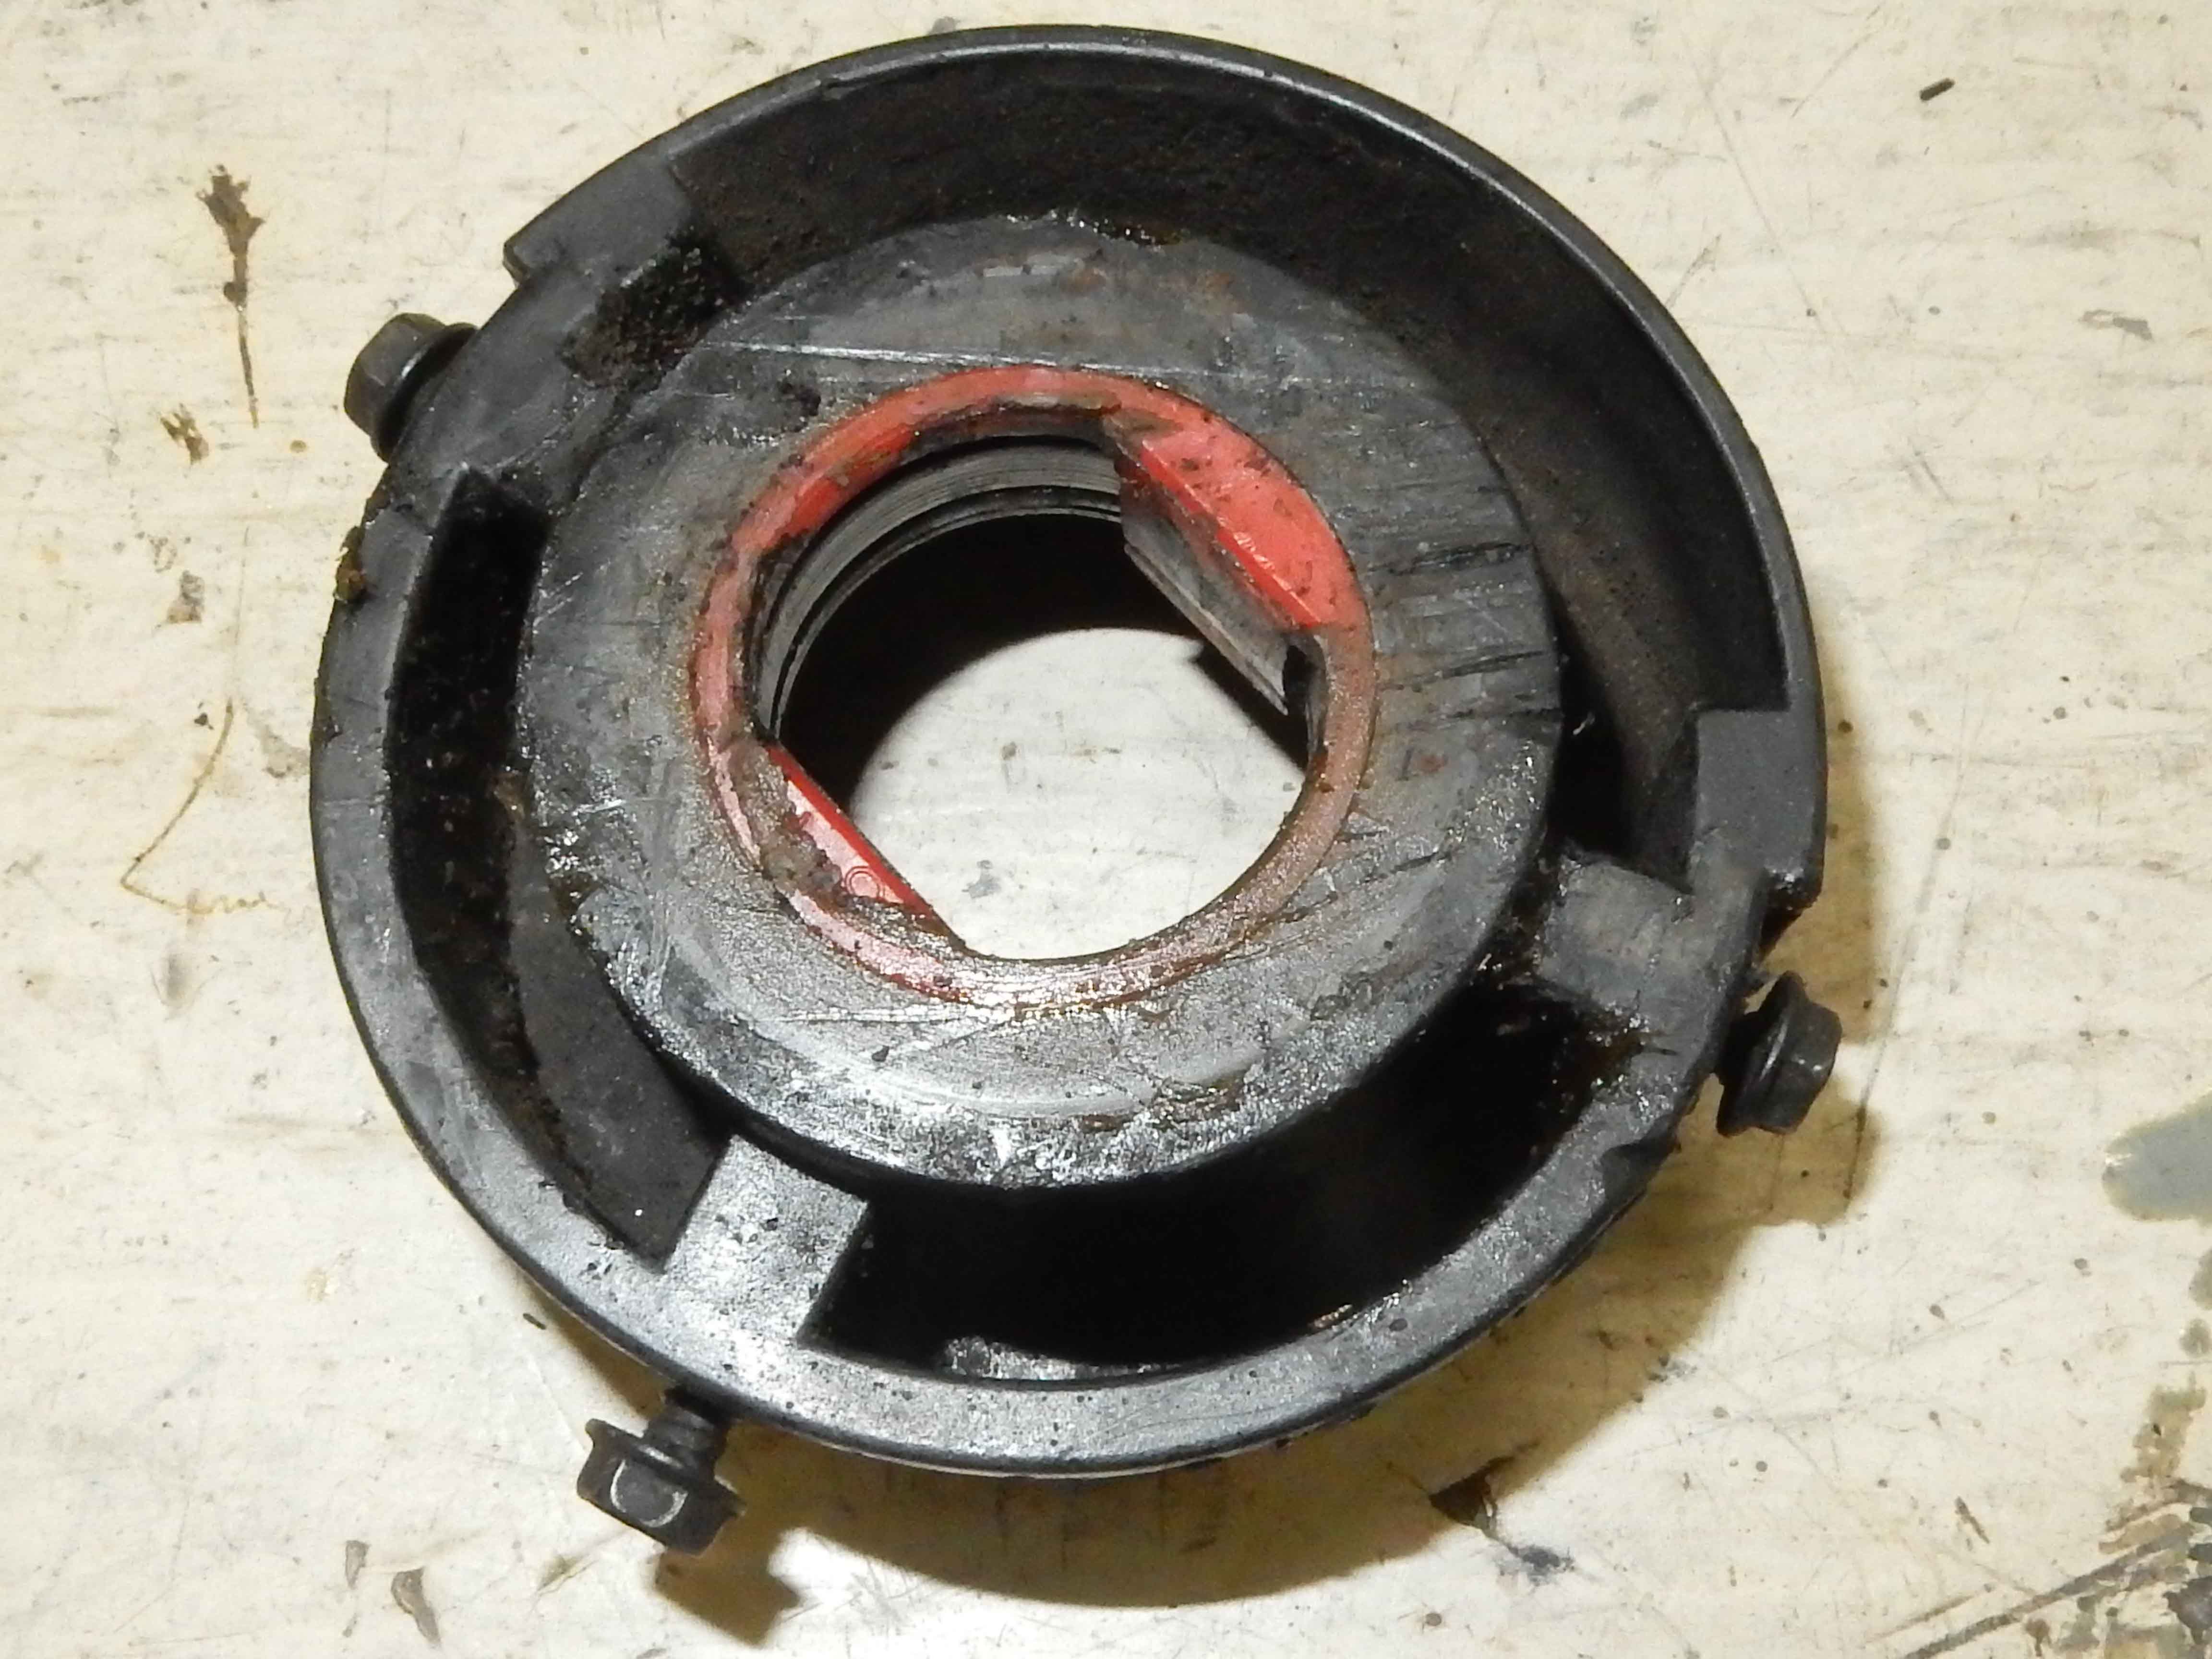 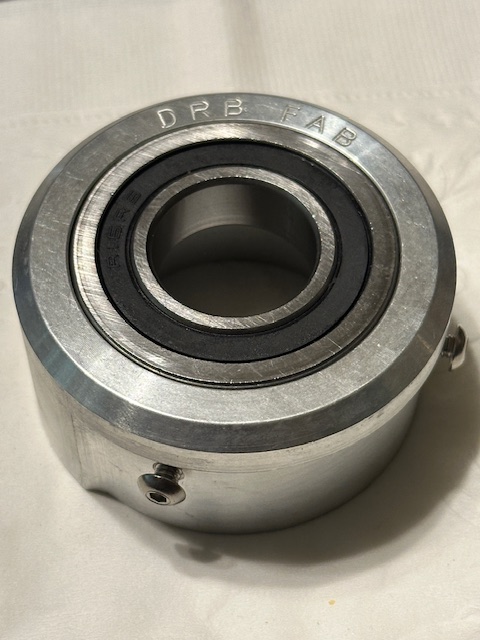
Gary, AKA "Gary fellow": Profile
Dad's: '81 F150 Ranger XLT 4x4: Down for restomod: Full-roller "stroked 351M" w/Trick Flow heads & intake, EEC-V SEFI/E4OD/3.50 gears w/Kevlar clutches
|
|
Administrator
|
Installment: Lower Bearing
Today I almost got the new DRB lower bearing installed. ALMOST. Initially it didn't want to even start on the end of the shaft. As best I can measure the bearing is .998" ID and at the bottom end the shaft measures 1.003". I could feel a bit of a lip on one side so I filed and then sanded the end of the shaft down until I got the bearing to start - and then it stuck. I tried driving it on, gently, but it wasn't going any farther. So I tried pull it off, and instead the whole outer shaft came out with it. (There's an inner shaft that comes down part way and an outer shaft that slips over the inner shaft and sticks out the bottom of the steering column.) Once it was out I chucked it in the lathe, marked it with bluing, and then gently checked it out. As you can see below the shaft flared out on the end, but only on one side. I wound up taking .005" off to get the bearing to slide on nicely. Then came the job of slipping the outer shaft over the inner shaft while you can't see anything. After a few tries it finally went in, but I was very happy I'd pulled them apart when I had the steering column out a couple of years ago and lubed them. Otherwise it might not have gone so well. Last came the job of installing the three retaining screws. I got two of them in but ran out of time on the third one, so that's tomorrow's first task. Then I'll install the Borgeson shaft and see if I can get the Blue Top box in. 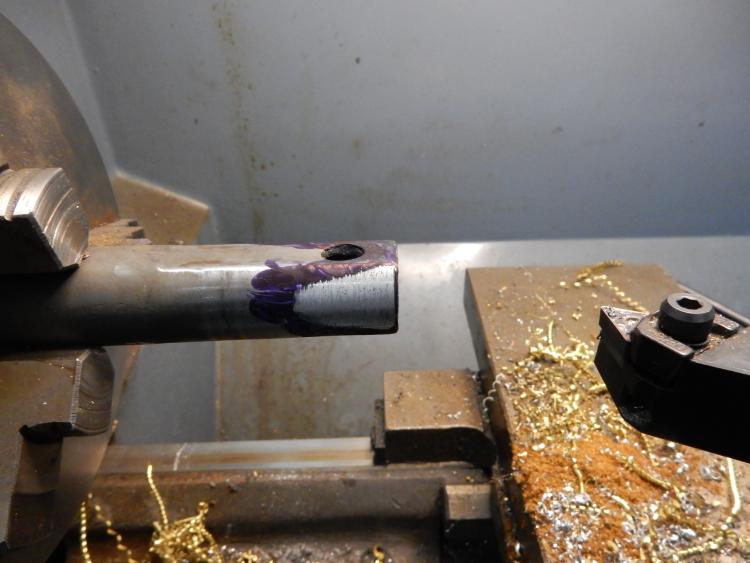 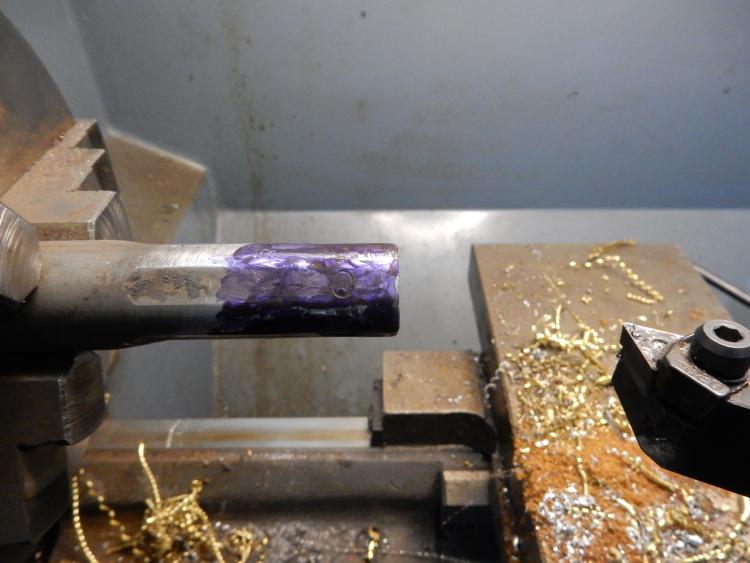
Gary, AKA "Gary fellow": Profile
Dad's: '81 F150 Ranger XLT 4x4: Down for restomod: Full-roller "stroked 351M" w/Trick Flow heads & intake, EEC-V SEFI/E4OD/3.50 gears w/Kevlar clutches
|
|
Administrator
|
Impressive work and attention to detail!
|
|
Administrator
|
Thanks, David.
 Today I got the screws installed through the steering column and into the lower bearing - with Loctite. Then I got the Borgeson lower steering shaft attached to the steering column's shaft and the Blue Top steering box installed and torqued down. But I didn't get the return hose combo installed. I got it made, meaning three pieces of new oil cooler hose cut and installed on the tee - with the EFI hose clamps. But when I started to install the whole thing I dropped a hose clamp and cannot find it. Unfortunately I'm out of the right size of clamps, so I ordered more and will finish up when they come in. That was late enough in the day that I didn't take any pics, but I did put the truck on the ground and wiggled the steering wheel. THERE IS NO PLAY! Not a single bit of play.  And here's the how-to while I'm thinking about it: Lower shaft top end: Install the lower shaft to the shaft coming out of the steering column loosely. That's because you may need to slide it up to get clearance to slide it on the steering box once it is installed.Steering box: This thing is heavy and it was about all I could do to lift it above my head to install it on the frame. I was able to get one bolt in and then swiveled the box to get the others in, but left them loose.Lower shaft installation: While the box is loose and the top of the lower shaft is also loose move things around to get the lower shaft attached to the steering box. And then attach the lower shaft firmly both to the steering column and the box.Pitman arm: Attach the pitman arm to the output shaft of the steering box. This may require turning the tires slightly to align the pitman arm to the output shaft, but don't turn the input shaft to the box as it came pointed straight ahead.Torque: You can now torque the bolts to the box to 70 lb-ft and the nut to the pitman arm to 200 lb-ft.
Gary, AKA "Gary fellow": Profile
Dad's: '81 F150 Ranger XLT 4x4: Down for restomod: Full-roller "stroked 351M" w/Trick Flow heads & intake, EEC-V SEFI/E4OD/3.50 gears w/Kevlar clutches
|
|
Administrator
|
Didn't get a lot done today, but after church and our luncheon I did get the return hoses installed.
That 3/8" transmission cooler hose is a TIGHT fit on the 3/8" fittings. I seriously doubt that hose clamps are even needed, but I did install the EFI clamps. However I'd ordered in 15-17mm ones as well as 16-18's and the smaller size fit better so I used them. One thing I like about these clamps is the tongue that completes the circle so there is pressure on the hose all the way around, as shown below. We have errands to run tomorrow so I'm hoping to get everything back together and test it on Tuesday. 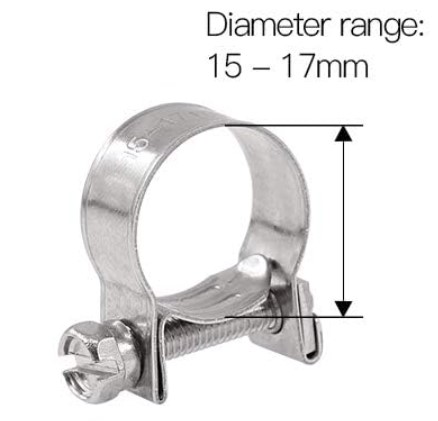
Gary, AKA "Gary fellow": Profile
Dad's: '81 F150 Ranger XLT 4x4: Down for restomod: Full-roller "stroked 351M" w/Trick Flow heads & intake, EEC-V SEFI/E4OD/3.50 gears w/Kevlar clutches
|
|
Administrator
|
Mid-day update. Got the system filled, but that wasn't as easy as the Blue Top instructions implied. Using their guidance I filled the Saginaw pump up, pulled the coil wire, cranked the engine over, and spun the steering wheel back and forth from lock to lock several times. And the pump was still full. So I did it again and again and the pump was still full.
Given that I put the coil wire back on and started it up. And in a few seconds there was a noise like something had gotten caught in the fan. But there was nothing. However the pump was so low I couldn't see any fluid, so I filled it back up. When I started it again the noise was gone for a few seconds, and then it was back and the pump was low. After about four rounds of this the noise didn't come back and the level stayed where it should. So I took it for a drive.         To say it made a difference isn't even close to the truth. WOW! It is new-car tight! There is no slop, no wander, just drive it and don't think about it. The steering wheel is off slightly so I'll pull the bottom of the Borgeson shaft off the box and turn it a notch clockwise. (The Borgeson shaft doesn't have the flats like the factory shaft so can be turned to make adjustments.) And I'll check the fluid level again to ensure that it doesn't need topped up.
Gary, AKA "Gary fellow": Profile
Dad's: '81 F150 Ranger XLT 4x4: Down for restomod: Full-roller "stroked 351M" w/Trick Flow heads & intake, EEC-V SEFI/E4OD/3.50 gears w/Kevlar clutches
|
|
Administrator
|
End of day report: SUCCESS! The Blue Top box made a HUGE difference. I'm really impressed and will go write up my review of it and them - 5 stars.
Gary, AKA "Gary fellow": Profile
Dad's: '81 F150 Ranger XLT 4x4: Down for restomod: Full-roller "stroked 351M" w/Trick Flow heads & intake, EEC-V SEFI/E4OD/3.50 gears w/Kevlar clutches
|
|
Excellent! Good to hear!
Dane
1986 F250HD SC XLT Lariat 4x4 460 C6-Sold 1992 Bronco XLT 4x4 351W E4OD 1998 GMC Sierra SLE K1500 350 4L60E Arizona |
|
Administrator
|
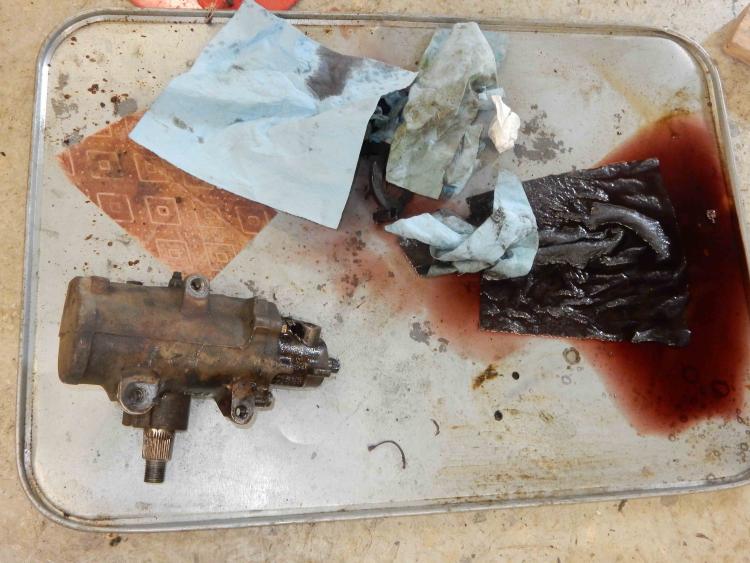
Update: When I went out to the shop this morning I found ATF on the work bench right by the old steering box. But, I'd plugged the inlet & outlet ports.
 Then I realized the leak had been from the output shaft seal. So, not only did the BT box cure the steering problems it also fixed the leak that I thought was from the return lines. 
Gary, AKA "Gary fellow": Profile
Dad's: '81 F150 Ranger XLT 4x4: Down for restomod: Full-roller "stroked 351M" w/Trick Flow heads & intake, EEC-V SEFI/E4OD/3.50 gears w/Kevlar clutches
|
| Edit this page |


